
Starting a YouTube channel is exciting right up until you begin shopping for gear. Suddenly there are hundreds of cameras, microphones, lights, tripods, capture devices, and accessories telling you that your first video needs a professional studio behind it.
It does not.
A beginner setup should solve three simple problems: viewers need to see you clearly, hear you comfortably, and understand what you are trying to say. Everything else can improve later. The smartest setup is not the most expensive one; it is the one you can actually use consistently.
This guide breaks down what is worth buying first, what can wait, and how to build a practical YouTube setup around your real budget.
Start With the Gear You Already Have
If you own a reasonably recent smartphone, you probably already have a camera capable of producing a good first YouTube video. Before buying a dedicated camera, record a short test near a window, clean the lens, use the rear camera when practical, and keep the phone stable.
The result may surprise you. Good light and clean audio can make a modest camera look far better than an expensive camera used in a dark room with bad sound.
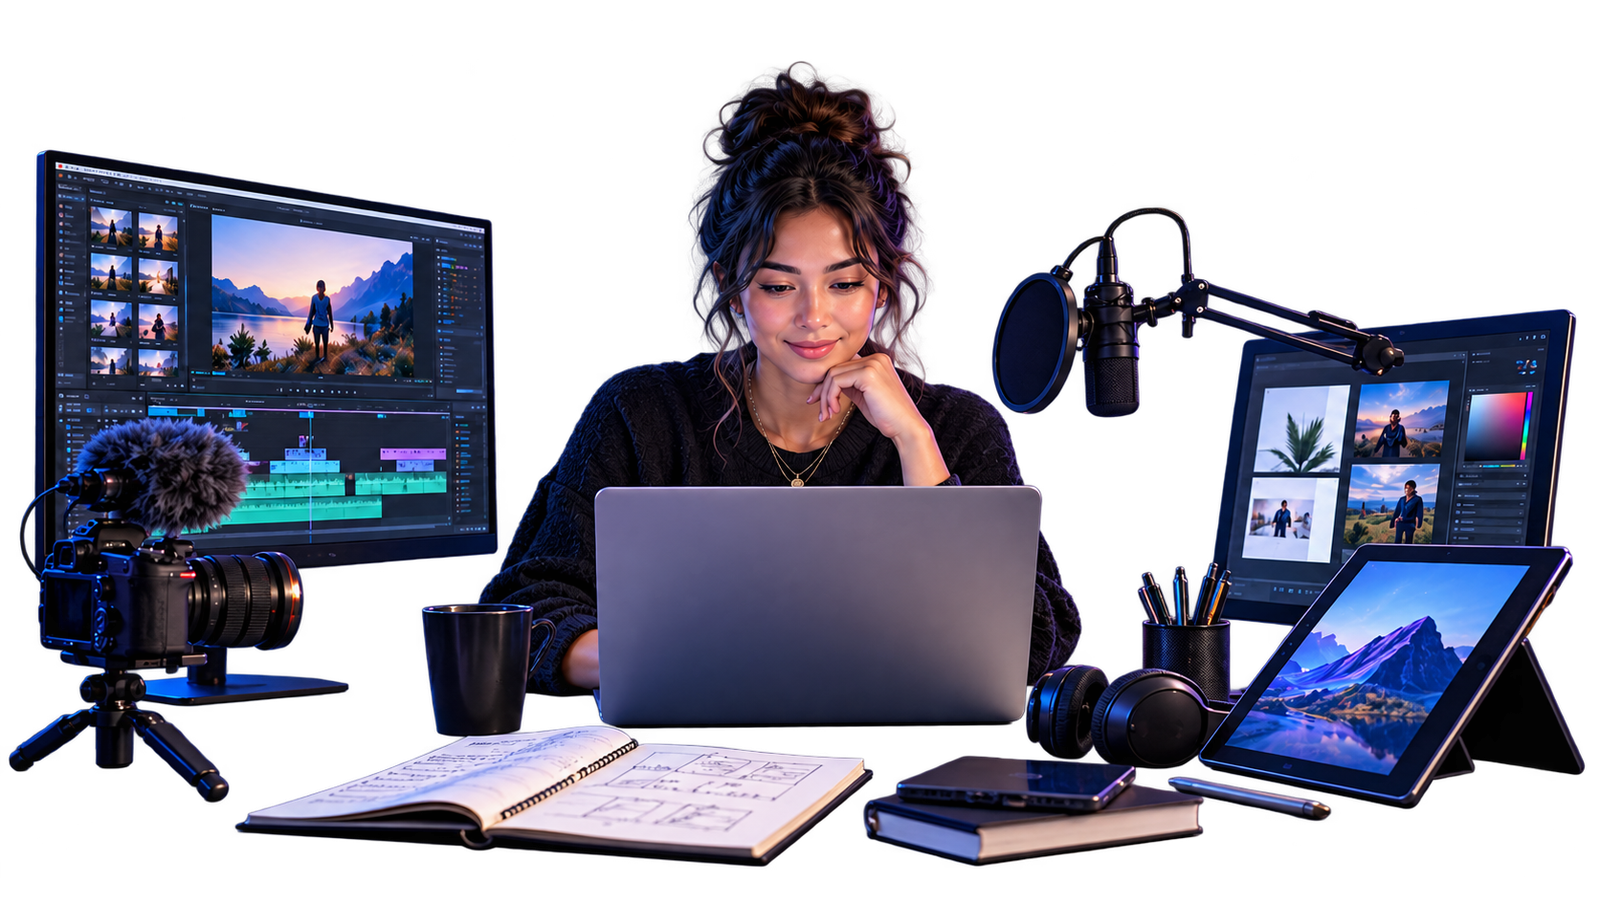
That is why I would usually spend a beginner's first dollars on audio, lighting, and stability before replacing the camera.
Three Sensible Budget Levels
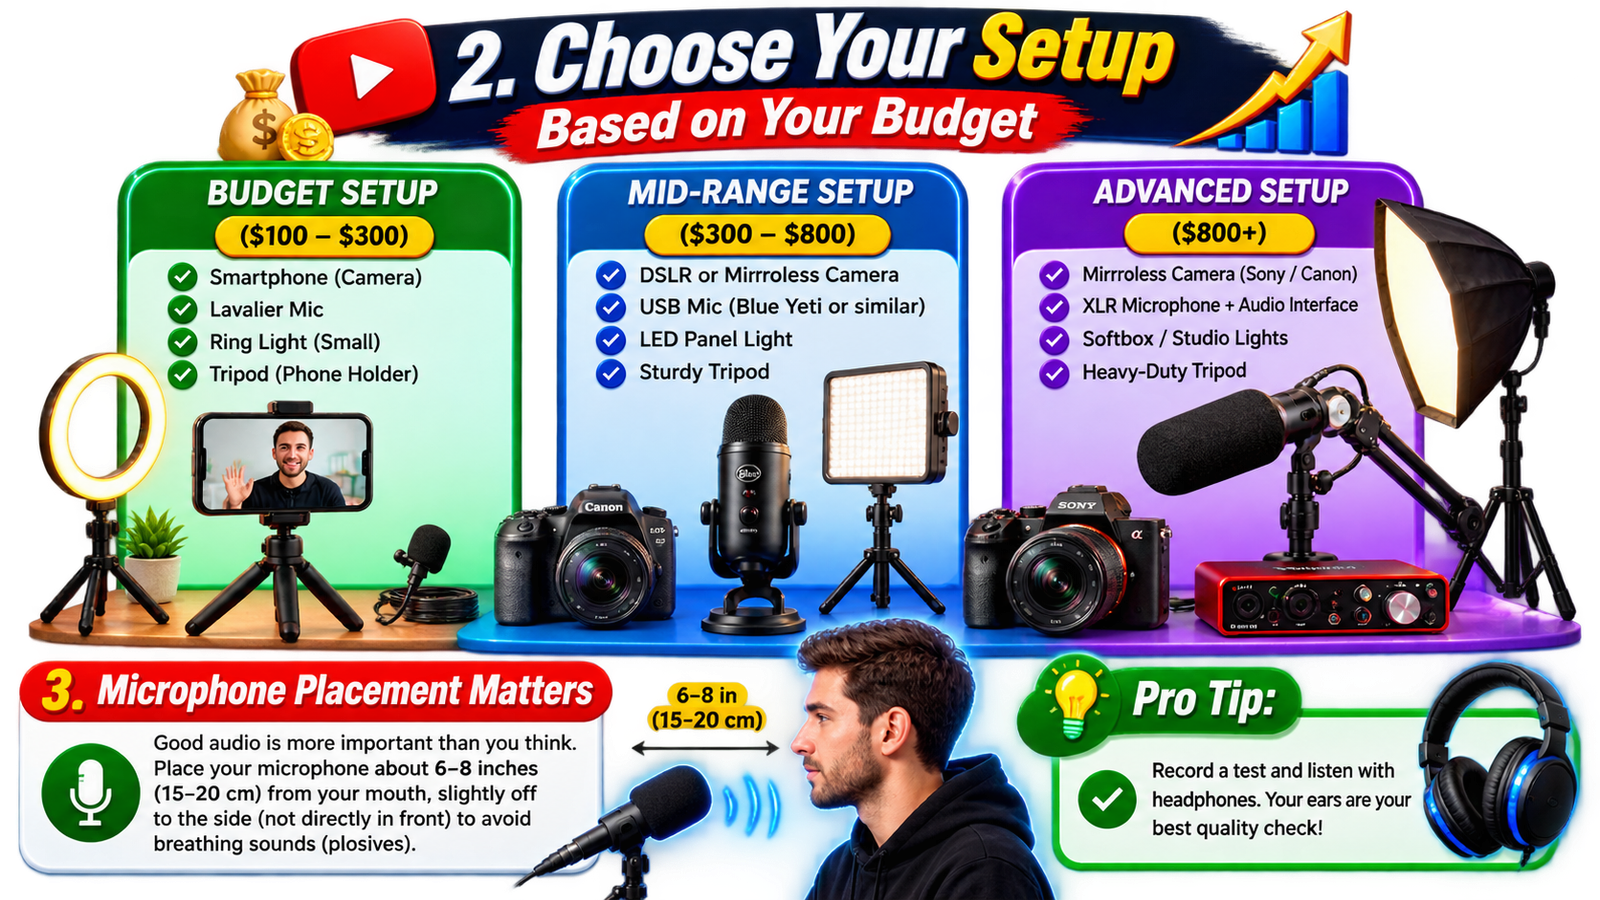
Budget setup: roughly $100–$300
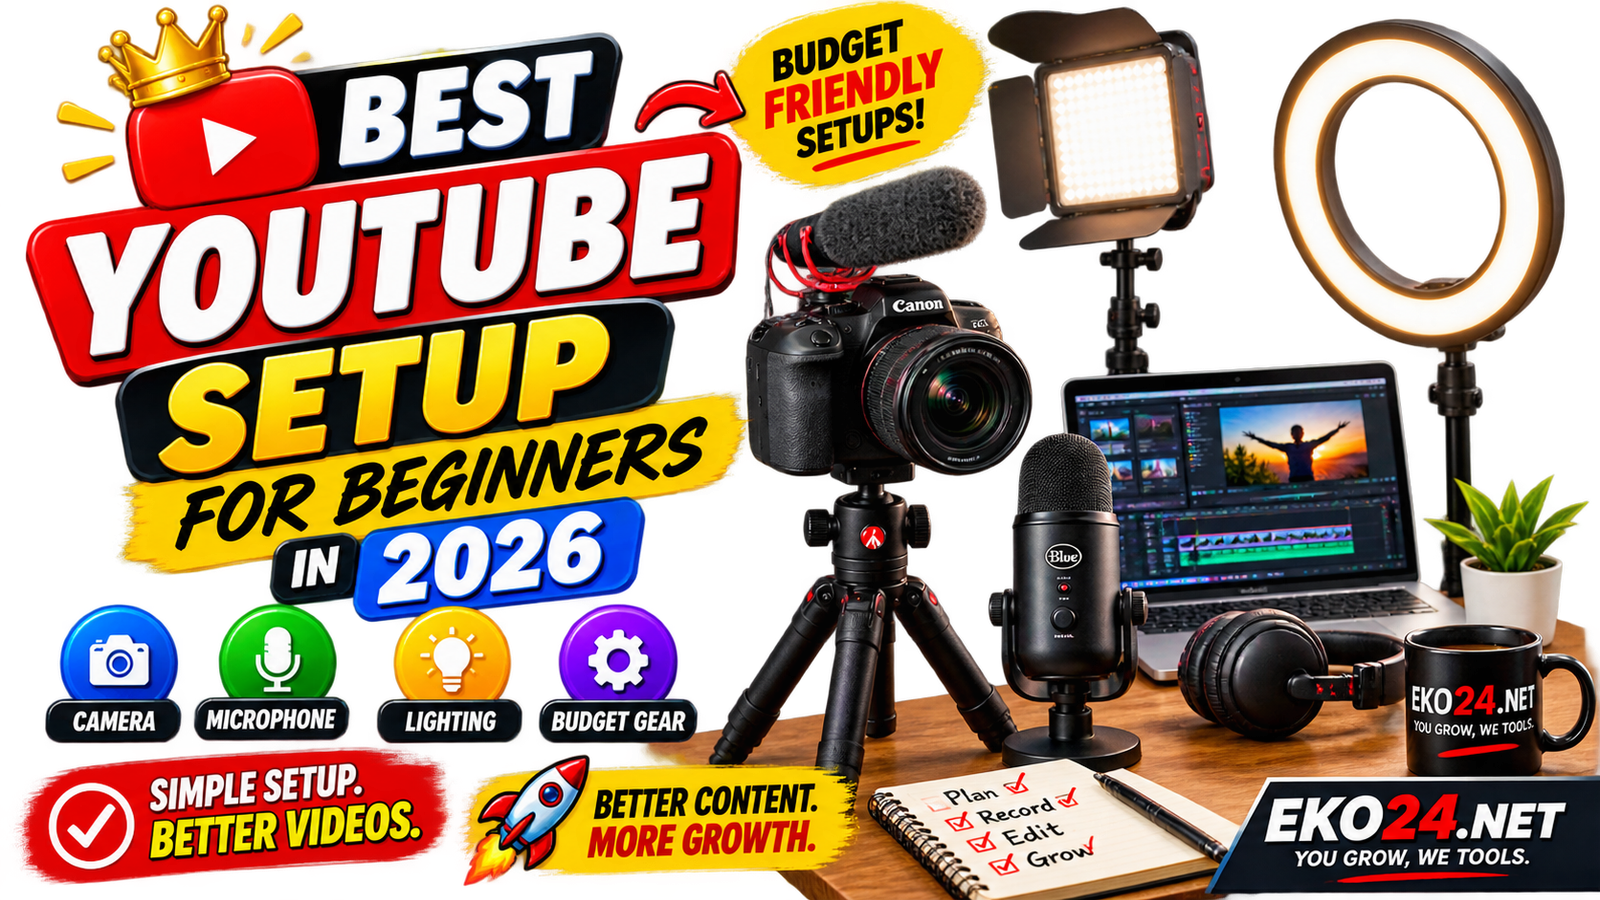
This is enough for many new creators. Use your smartphone as the camera, add a basic lavalier or USB microphone, a small LED light or ring light, and a stable phone tripod. If your room has good daylight, you may not even need to buy a light immediately.
The goal at this level is reliability. You want to be able to sit down, set up quickly, record clear audio, and publish without fighting your equipment every time.
Mid-range setup: roughly $300–$800
Once you know you enjoy making videos and understand what your current setup is limiting, a mirrorless or DSLR-style camera can make sense. Pair it with a decent USB microphone or compact shotgun microphone, an LED panel, and a sturdy tripod.
Do not upgrade everything at once. If your phone already looks good but your audio sounds distant, buy the microphone first. If the audio is clean but the image looks flat and noisy, improve the lighting before blaming the camera.
Advanced setup: $800 and above
At this point you are paying for more control: better lenses, stronger low-light performance, XLR microphones, audio interfaces, larger softboxes, more reliable stands, and equipment that is easier to use in demanding situations.
Those upgrades can be valuable, but they make the most sense after your content has shown you exactly what you need. Buying an advanced setup before you have a recording routine often creates more complexity than quality.
Camera: Do Not Buy Specs You Cannot See
It is easy to get lost comparing resolution, sensor sizes, bitrates, autofocus systems, and frame rates. For most beginner YouTube channels, a few practical features matter more: dependable autofocus, a clean image in your normal room, easy file transfer, good battery options, and a screen you can monitor while recording.
4K can be useful for cropping and reframing, but it is not a requirement for making a useful video. A well-lit 1080p video with a strong idea will beat a dull 4K video every time.
Microphone: Viewers Forgive Average Video Before Bad Audio
If people struggle to understand you, they leave. That makes audio one of the highest-value upgrades in a beginner setup.
Whatever microphone you use, distance matters. A modest microphone positioned 15–20 cm (about 6–8 inches) from your mouth can sound much better than a premium microphone sitting across the room. Keep it slightly off to the side so breathing and hard consonants do not hit the capsule directly.
Record a 20-second test before a long session. Wear headphones, listen for echo, computer fans, traffic, air conditioners, and desk vibrations. Fixing those problems before recording is much easier than trying to remove them later.
Lighting: One Good Light Can Change Everything
You do not need a complicated studio to improve your image. Start with one soft light placed slightly above eye level and around 45 degrees to one side of your face. If you have a window with soft daylight, that can be your key light for free.
A classic three-point setup adds a fill light on the opposite side to soften shadows and a back light behind you to create separation from the background. It looks polished, but beginners should not feel pressured to buy three lights immediately.
Start with one. Learn where to place it. Then add more only when you understand what problem the extra light is solving.
Your Background Matters Less Than You Think
A clean background usually works better than a crowded attempt at looking “professional.” Move distracting objects out of frame, create a little distance between yourself and the wall, and avoid having bright windows directly behind you.
A plant, shelf, lamp, or subtle colored light can add depth later. None of those things should compete with the person speaking.
What I Would Buy First
If I were starting from zero with a phone and a limited budget, my order would be simple: a stable tripod, a microphone that can stay close to my mouth, and one controllable light. I would record several videos before considering a new camera.
That approach is less exciting than unboxing a pile of equipment, but it tells you something valuable: whether a new purchase will actually improve your videos.
Common Beginner Gear Mistakes
- Buying a camera before fixing audio. Sharp video does not compensate for sound that is difficult to understand.
- Buying everything at once. You will not know which upgrades actually helped.
- Ignoring the room. Echo and uncontrolled light can make expensive equipment perform badly.
- Leaving the camera in automatic mode forever. Auto settings are useful at first, but learning basic exposure and white balance gives you more consistent results.
- Building a setup that takes 30 minutes to assemble. Friction kills consistency. Make recording easy.
Do Not Forget the Video Idea and Packaging
Gear gets attention because it is tangible, but equipment cannot rescue a video nobody wanted to click. Before recording, make sure the idea solves a real problem or offers a clear reason to watch.
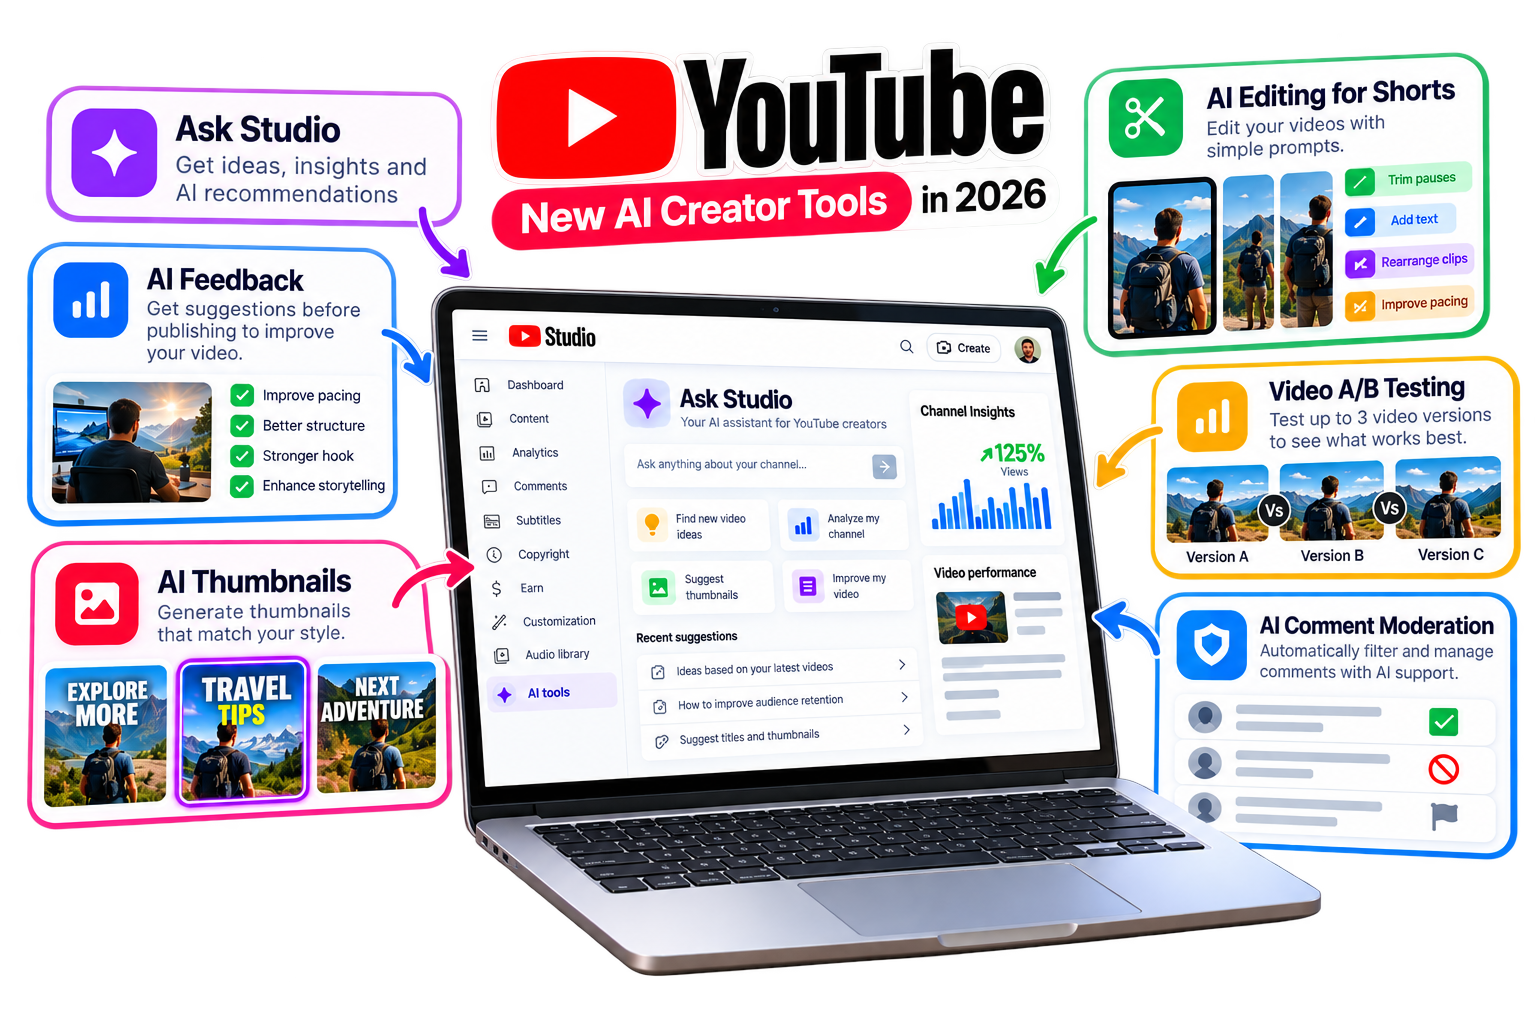
You can use the EKO24.NET Keyword Generator to explore how viewers phrase a topic, then build a clear visual concept with the Thumbnail Maker. Before publishing, the SEO Checker can help you review the basic optimization, while the Watch Time Calculator is useful when you want to understand how viewing time translates into channel growth.
Use tools as a final layer around a good video, not as a substitute for one.
A Setup You Can Grow With
The best beginner YouTube setup in 2026 is not a fixed shopping list. A gaming creator, a vlogger, a tutorial channel, and someone filming interviews all need different things.
Build around what you actually make. Start with what you have, improve the weakest part of your production, and give every new purchase a job. When your audience grows, your equipment can grow with it.
Most importantly, do not wait for the perfect camera to make the first video. Your tenth video will teach you more about the gear you need than another ten hours of shopping ever will.
Related guides: How to Convert Video to MP3 Online in 2026: A Simple and Private Method and How to Find Viral YouTube Video Ideas Before Your Competitors in 2026.