
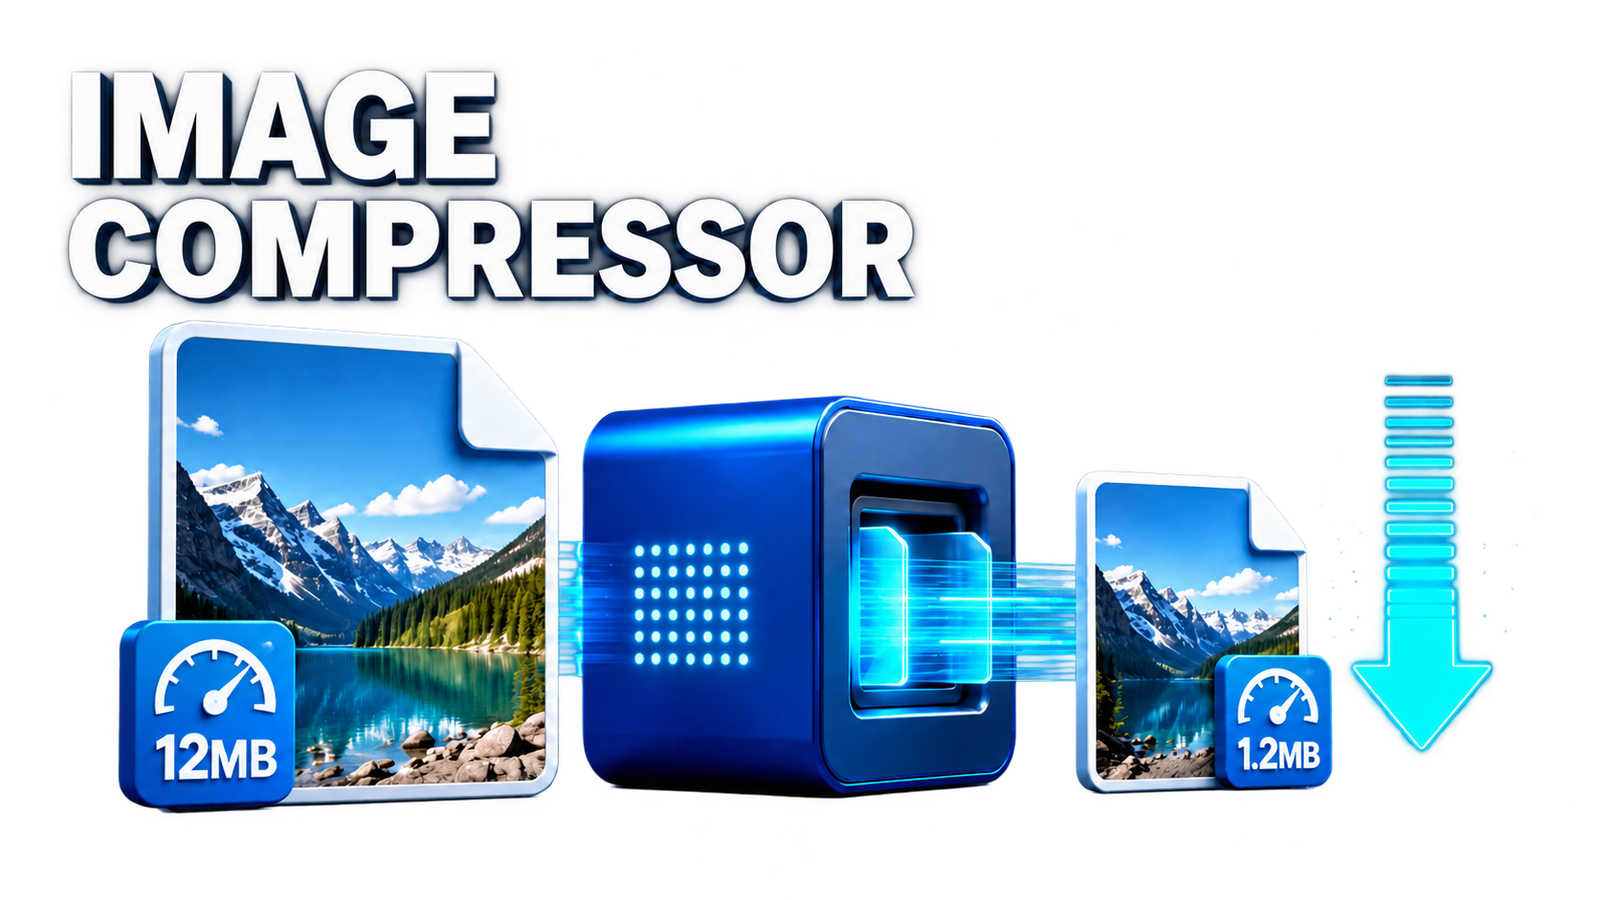
Large image files can slow down websites and take up unnecessary storage space. Image compression helps reduce file size while keeping the image visually clear.
How to Compress an Image Online
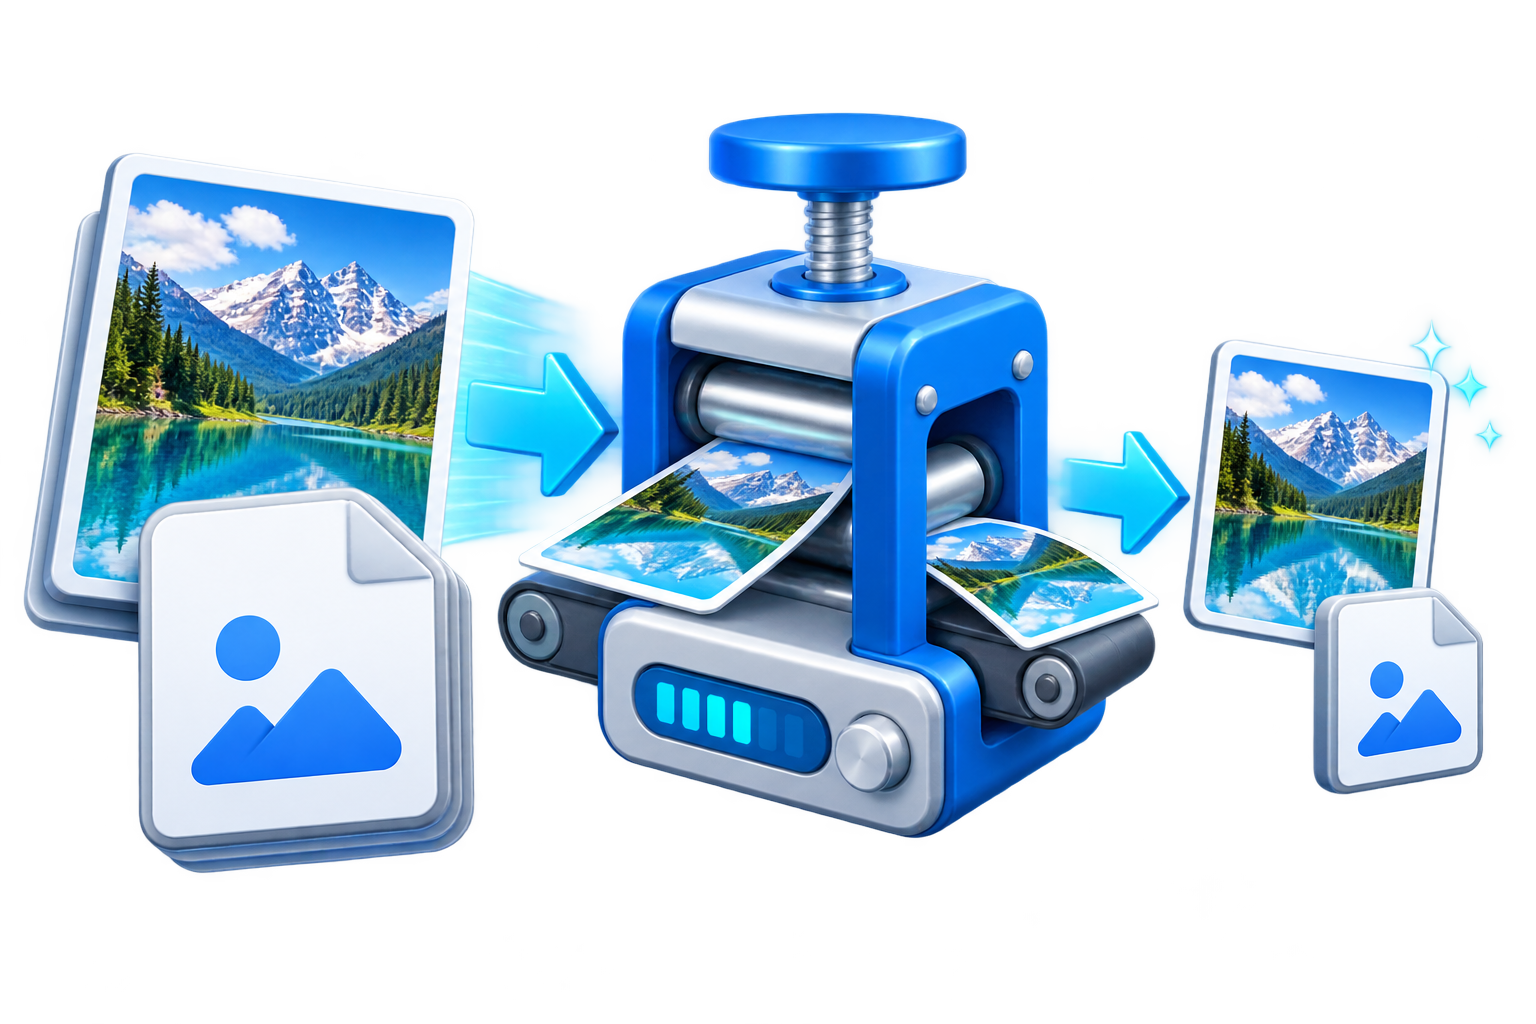
You can use the EKO24.NET Image Compressor directly in your browser without installing software.
- Upload your JPG, PNG, or WebP image.
- Choose the compression settings if available.
- Compress the image.
- Download the optimized version.
Can You Compress Images Without Losing Quality?
Yes. Good compression can significantly reduce file size while keeping visible quality differences very small. The best result is a balance between image quality and file size.
Why Compress Images?
Smaller images load faster, use less bandwidth, and can improve website performance. This is especially useful for blogs, online stores, and other image-heavy pages.
Compress Your Images Online
Try the EKO24.NET Image Compressor to quickly optimize your images while maintaining good visual quality.
Understand the quality trade-off
Lossy compression can reduce file size by discarding some image information, so the phrase “without losing quality” usually means without an obvious visible difference, not mathematically identical pixels. Try a moderate compression level first, then inspect fine text, faces and gradients. For screenshots and graphics with sharp text, compare the output carefully before replacing the original.
Lossless versus lossy compression
Lossless compression preserves the image data while attempting to reduce storage overhead. Lossy compression removes some information to achieve smaller files, which may introduce visible artifacts at aggressive settings. A smaller file is not always visually identical to the original.
Example of how to measure results
Suppose your original image is 1,200 KB and the optimized image is 480 KB. The reduction is (1,200 − 480) ÷ 1,200 × 100 = 60%. This is an illustrative calculation, not a measured result from EKO24.NET.
Practical checklist
- Keep the original image.
- Use JPG or WebP for photos and PNG when lossless graphics or transparency are important.
- Compare text, edges and gradients at 100% zoom.
- Check dimensions as well as file size: resizing and compression are different operations.
- Test the downloaded image on the page where it will be used.
Choosing between lossless and lossy compression
Lossless compression preserves the decoded image information; lossy compression may remove detail to make a smaller file. A JPEG, WebP or other image can look nearly unchanged after moderate lossy compression, but “no visible loss” is not the same as pixel-for-pixel preservation.
How to check whether compression helped
- Keep the original image as a backup.
- Compress one copy using moderate settings.
- Compare fine text, gradients, edges and faces at normal viewing size.
- Check both file sizes. For example, a reduction from 1,000 KB to 400 KB is a 60% reduction, not a promise of identical quality.
- Check the exported dimensions, transparency and file format before replacing an image on your site.
Compression alone is not a guarantee of better search rankings. Google recommends balancing visual quality, responsive image delivery and page speed; see Google Search Central's image guidance.