EKO24.NET Tech & Creator Blog

YouTube growth, SEO, streaming, gaming and creator guides from EKO24.NET.

All Articles YouTube Growth SEO & Marketing Streaming Gaming Creator Tools Tech & Hardware Artificial Intelligence Cybersecurity
YouTubeโ€™s New AI Creator Tools in 2026: What Creators Need to Know
Creator Tools

YouTubeโ€™s New AI Creator Tools in 2026: What Creators Need to Know

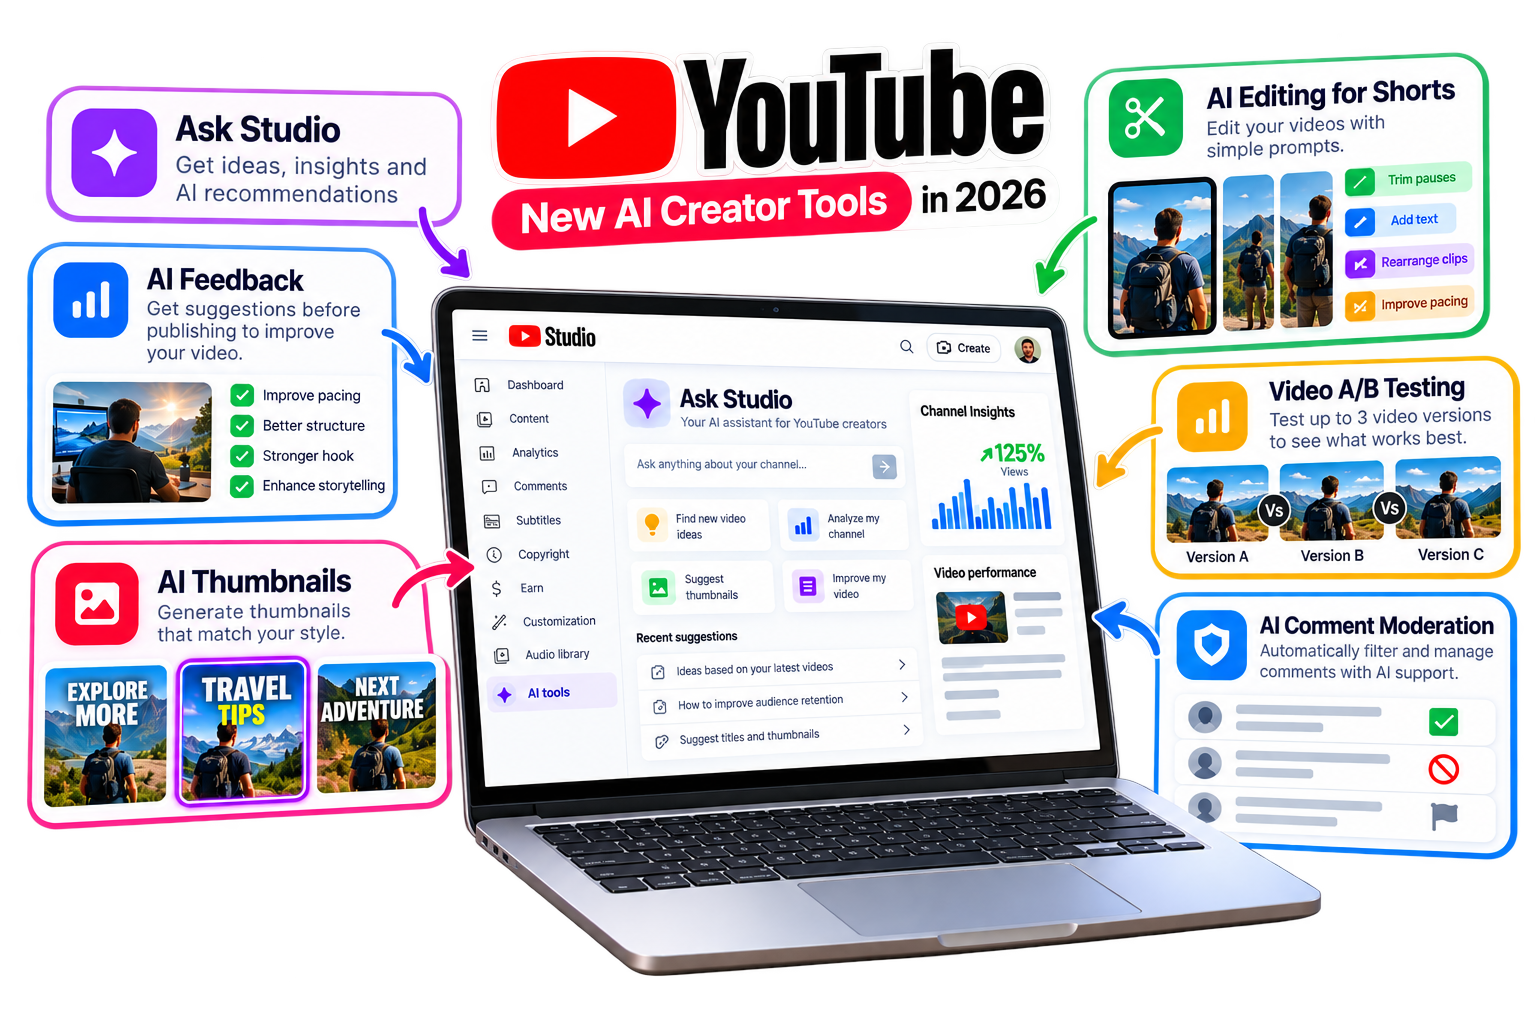
YouTube is bringing more AI-powered features into YouTube Studio in 2026, giving creators new ways to research ideas, improve videos, create thumbnails, test content and edit faster. The goal is simple: help creators spend less time on repetitive tasks and more time creating content. Here are some of the most important new tools. Ask Studio: An AI Assistant for Creators Ask Studio is becoming a more useful AI assistant inside YouTube Studio. Creators can use it to understand channel performance, discover new video ideas and get suggestions based on their content. It can also help creators review older videos and find opportunities to improve titles, thumbnails and future content ideas. AI Thumbnails and Creative Feedback YouTube is expanding its AI tools for thumbnails and video feedback. Creators can receive suggestions about pacing, structure and storytelling before publishing a video. AI-assisted thumbnail features can also help creators develop new thumbnail ideas while keeping a style that fits their channel. Video A/B Testing YouTube is also expanding content testing beyond titles and thumbnails. Video A/B testing is designed to let creators compare different versions of a video and understand which opening or presentation works better with viewers. This could make it easier to improve audience retention without relying entirely on guesswork. AI Editing for Shorts AI is also becoming part of the editing process. YouTube is developing conversational editing features for Shorts and YouTube Create. Creators can use simple prompts to perform tasks such as trimming pauses, rearranging clips, adding text and improving pacing while still keeping manual control over their edits. What Does This Mean for Creators? These updates show how AI is becoming integrated into more parts of the YouTube workflow โ€” from finding an idea to editing, thumbnails, testing and analytics. For creators, these tools could save time and make it easier to understand what works. However, AI cannot guarantee views or replace a strong idea, useful content and a good understanding of the audience. Explore More YouTube Tools EKO24.NET also provides free browser-based tools for YouTube creators, including tools for titles, descriptions, hashtags, SEO and channel analysis. ๐Ÿ‘‰ Explore all YouTube Tools on EKO24.NET โ†’ Frequently Asked Questions What are YouTube's new AI creator tools? They include improvements to Ask Studio, AI-assisted feedback and thumbnails, video testing and conversational editing tools. Can AI edit YouTube videos? YouTube is introducing AI-assisted conversational editing that can help creators make changes using simple prompts while keeping manual editing available. Will AI replace YouTube creators? These features are designed to assist creators with specific tasks. Creators still decide what to make, how to present it and what to publish. Final Thoughts YouTube's latest AI features could make everyday creator tasks faster and easier. Instead of replacing creativity, the most useful role for these tools may be helping creators research, edit, test and improve their content more efficiently.

Read Article โ†’
7 AI Tools That Save Content Creators Hours in 2026
Creator Tools

7 AI Tools That Save Content Creators Hours in 2026

Creating content often involves many small tasks. You may need to research an idea, write a script, design an image, edit a video, clean audio and prepare everything for publication. AI tools cannot replace creativity, but they can reduce repetitive work. Here are seven useful tools that can help content creators save time in 2026. 1. ChatGPT for Ideas and Writing ChatGPT can help creators brainstorm topics, organize outlines, rewrite difficult paragraphs and prepare first drafts for videos, blogs or social media posts. It is most useful as a writing assistant. Give it clear instructions, check the information it produces and rewrite the final result in your own voice. 2. Canva Magic Studio for Visual Content Canva Magic Studio brings several AI-assisted features into a familiar design platform. Creators can use it to prepare social media graphics, presentations, thumbnails and simple promotional materials. Templates and automatic design features are especially helpful when you need to create several visual formats without starting each one from an empty page. 3. Adobe Firefly for Creative Images Adobe Firefly can generate and modify images from written instructions. It can also help remove unwanted objects, extend backgrounds and create visual variations. This is useful when an article, video or campaign needs an original supporting visual. Generated images should still be reviewed carefully before publication. 4. Descript for Audio and Video Editing Descript allows creators to edit recorded audio and video through a text-based interface. Removing a sentence from the transcript can also remove that section from the recording. It can save time when editing interviews, podcasts, tutorials and talking-head videos, especially when the project contains a large amount of spoken content. 5. CapCut for Fast Social Videos CapCut includes tools for captions, background removal, templates and quick video editing. It is popular for short videos designed for TikTok, Instagram Reels and YouTube Shorts. Automatic captions can provide a useful starting point, but names, technical terms and punctuation should always be checked manually. 6. Notion AI for Organizing Content Notion AI can help summarize notes, organize research and turn rough ideas into structured plans. It is useful for creators who manage content calendars, scripts and project information in one workspace. Instead of searching through several documents, you can keep ideas, deadlines and production notes connected to the same project. 7. ElevenLabs for Voice and Audio ElevenLabs provides AI-powered voice tools that can turn text into natural-sounding speech. Creators may use it for narration, prototypes, accessibility or multilingual versions of their content. Use voice-generation tools responsibly. You should have permission before copying or reproducing another person's voice. How These AI Tools Save Time The biggest advantage is not that one tool completes the entire project. Each tool can shorten a different part of the workflow. ChatGPT helps develop and organize ideas. Canva and Firefly assist with visual content. Descript and CapCut speed up editing. Notion AI keeps projects organized. ElevenLabs supports narration and audio production. A creator can combine a few of these tools depending on the project instead of using every available AI service. Do Not Publish AI Output Without Checking It AI-generated text may contain incorrect information. Captions can misunderstand words, images can include visual mistakes and generated voices may pronounce names incorrectly. Always review the final result. Human judgment is still necessary for accuracy, originality and quality. Choose Tools That Solve Real Problems A new tool is not useful simply because it includes AI. Start by identifying the parts of your workflow that take the most time. If writing is slowing you down, use a writing assistant. If editing is the problem, try a video or audio tool. A smaller set of useful tools is usually better than subscribing to many platforms you rarely use. Frequently Asked Questions Can AI create an entire video? AI can help with ideas, scripts, visuals, narration and editing. However, creators still need to review the result and make decisions about quality, accuracy and storytelling. Are these AI tools free? Several tools offer free access or limited free features. Advanced options, higher limits and commercial features may require a paid plan. Which AI tool is best for beginners? The best choice depends on the task. ChatGPT is useful for ideas and writing, while Canva is accessible for creators who need visual designs. Can AI-generated content be monetized? Monetization rules depend on the platform and the content. Always check copyright, licensing and platform policies before publishing commercial work. Try Free Creator Tools on EKO24.NET You can also use the free tools available on EKO24.NET to complete different parts of your content workflow. Turn your topic into a structured video draft with the AI Script Writer. Generate new titles and content concepts with the Video Idea Generator. Create a stronger opening using the YouTube Hook Generator. Prepare a visual cover with the Thumbnail Maker. Write your video summary with the Description Generator. Use these tools as a starting point, then review and personalize the results before publishing. Final Thoughts AI tools can help content creators work faster, but speed should not replace originality. The best workflow uses AI to handle repetitive steps while the creator remains responsible for the ideas, decisions and final quality. Choose one or two tools that solve your biggest problems, test them in real projects and keep only the ones that genuinely save you time.

Read Article โ†’
The Internet Is Full of Tools โ€” But Which Ones Are Actually Useful?
Creator Tools

The Internet Is Full of Tools โ€” But Which Ones Are Actually Useful?

The Internet Is Full of Tools โ€” But Which Ones Are Actually Useful? There is an online tool for almost everything. You can edit images, convert documents, generate text, analyze content, organize files, and automate small tasks without installing any software. Having more choices sounds useful, but it creates another problem: finding the tools that actually make your work easier. A Useful Tool Solves One Problem Well The best online tools are often surprisingly simple. They do not need dozens of menus or complicated settings. They take a specific task and make it faster. If you need to compress an image, for example, you probably want to upload the file, choose the necessary option, and get the result. Extra steps rarely make a simple task better. Speed Is Part of the Experience A tool may have excellent features, but people are less likely to use it if every action takes too long. Fast loading, clear buttons, and a straightforward workflow can be just as important as the technology behind the tool. This matters especially for small tasks that should only take a few seconds. You Should Understand It Without a Manual Good design helps people understand what to do next. Useful online tools focus on clear tasks, simple workflows and fast results. An upload area should look like an upload area. Important actions should be easy to find, and the result should be clearly separated from the original input. When a basic online tool needs a long tutorial before someone can use it, something in the experience is probably more complicated than necessary. Useful Does Not Always Mean Advanced AI and automation have made online tools much more powerful, but advanced technology is not automatically useful for every task. Sometimes a simple image resizer or PDF converter saves more time than a feature-packed application. What matters is whether the tool matches the job you are trying to complete. Different Tasks Need Different Tools There is rarely one perfect tool for everything. Someone creating content might need an image editor, a PDF utility, a title generator, and a few AI tools during the same project. Using small specialized tools can be easier than forcing every task into one large application. Privacy Is Worth Checking Uploading a public image is very different from uploading a private document. Before using an unfamiliar service, it is worth checking what happens to the files you submit and whether the website clearly explains its privacy policy. For sensitive information, choosing an appropriate and trustworthy service is more important than saving a few seconds. The Best Tool Is the One You Actually Use A long list of features looks impressive, but most people repeatedly return to tools that are fast, understandable, and reliable. If a tool removes unnecessary steps and helps you finish a real task, it has already done its job. Instead of collecting dozens of online services, keeping a small set of useful tools for the tasks you perform regularly can make everyday digital work much simpler.

Read Article โ†’
How to Work Smarter Online: Simple Tools That Save Time
Creator Tools

How to Work Smarter Online: Simple Tools That Save Time

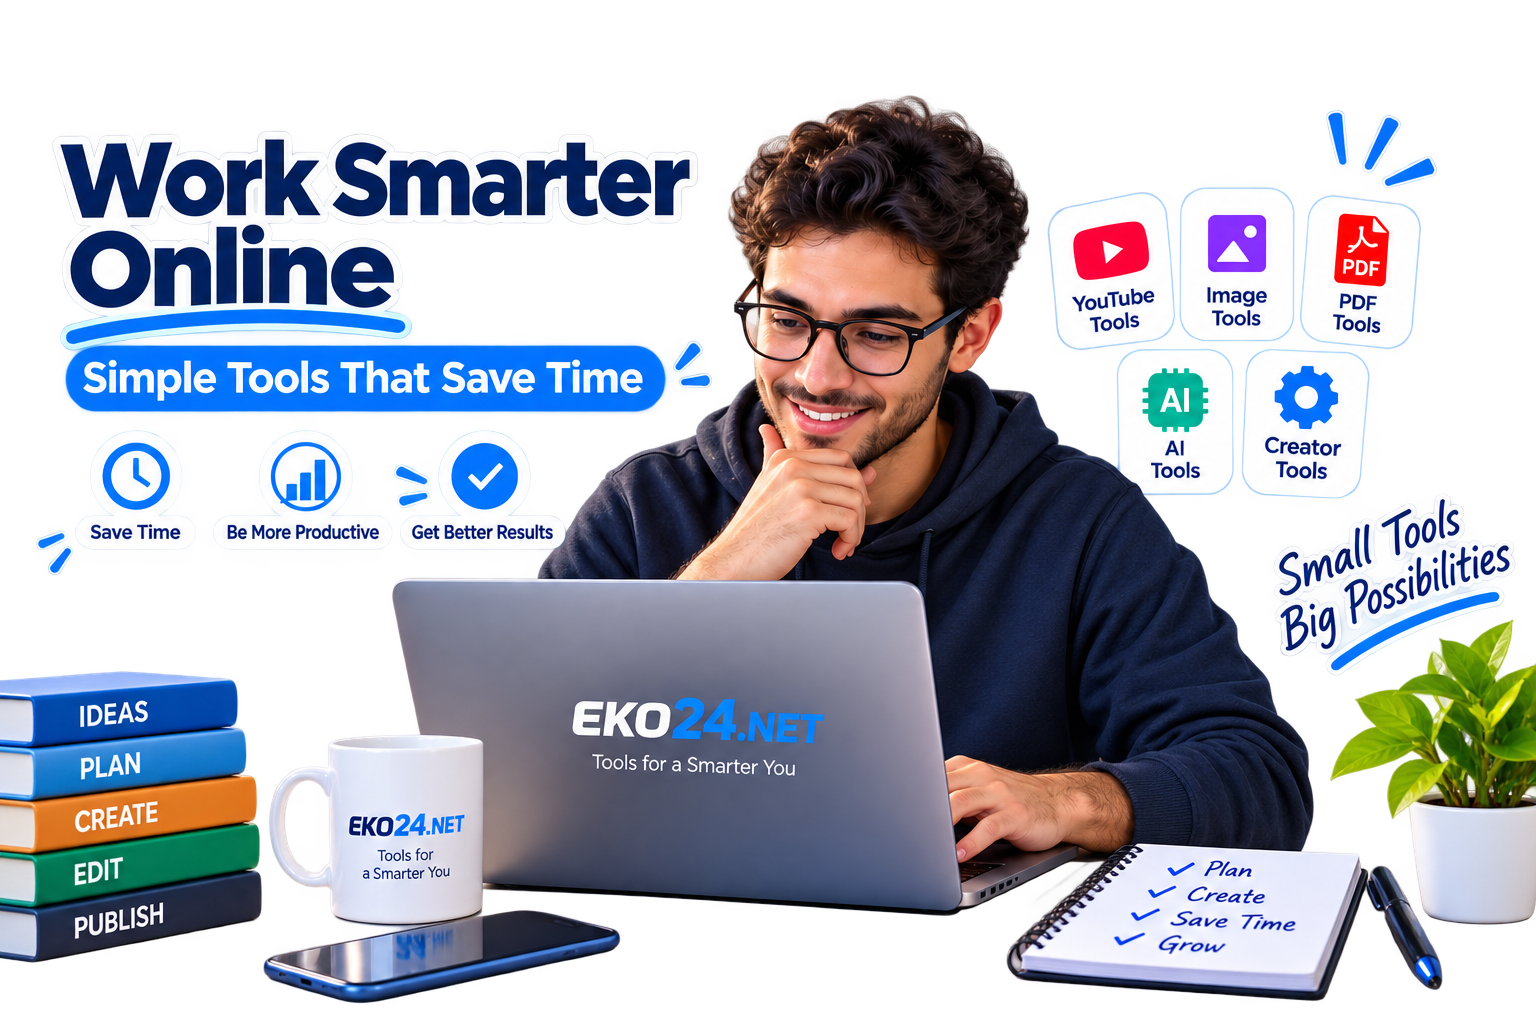
How to Work Smarter Online: Simple Tools That Save Time Working online does not have to mean doing everything manually. Many everyday tasksโ€”editing an image, preparing a PDF, finding content ideas, or creating textโ€”can take much longer than necessary. The right online tools can make these small jobs faster and easier without requiring complicated software or technical skills. Start With the Tasks You Repeat Most A good way to save time is to look at the small tasks you perform again and again. Maybe you regularly need to resize images before uploading them, compress large files, prepare PDFs, generate ideas for a YouTube video, or improve content before publishing it. Doing each task manually may only take a few minutes, but those minutes quickly add up. Instead, using a dedicated tool for each job can simplify the process and help you focus on the work that actually needs your attention. Use Simple Tools Instead of Complicated Software You do not always need to install a large program for a small task. Simple browser-based tools can reduce repetitive steps in everyday online work. For example, if you only need to crop an image, convert a file, split a PDF, or generate a few content ideas, a simple browser-based tool may be enough. This is especially useful when you want to finish something quickly without creating an account, installing software, or learning a complicated interface. Organize Your Online Workflow Saving time is not only about working faster. It is also about reducing unnecessary steps. Try grouping similar tasks together. Prepare your images at the same time, organize your PDFs before sending them, and create several content ideas before you start writing or recording. A simple workflow could be: Prepare โ†’ Edit โ†’ Check โ†’ Publish Keeping the process simple makes it easier to repeat and reduces the chance of forgetting an important step. Choose the Right Tool for the Job There is no reason to use one complicated application for everything. Image tools are useful for resizing, cropping, compressing, or converting pictures. PDF tools can help merge, split, compress, or convert documents. AI tools can assist with brainstorming and drafting, while creator tools can help with titles, keywords, descriptions, and other content tasks. Choosing a focused tool for each task can make an online workflow faster and easier. The important thing is to use tools when they genuinely remove repetitive workโ€”not simply because more tools are available. Small Time Savings Add Up Saving two or three minutes may not seem important. But when the same task is repeated several times every week, those small savings become meaningful. A faster workflow also means fewer interruptions. Instead of switching between several programs and websites, you can complete a task and move on. Work Smarter, Not More Productivity does not have to mean doing more things every day. Sometimes the better approach is simply to remove unnecessary work. By choosing straightforward online tools and creating a simple workflow, you can spend less time on repetitive digital tasks and more time creating, learning, or finishing the work that matters. On EKO24, you can explore free tools for images, PDFs, AI, and content creation, and choose only the tools that fit the task you are working on.

Read Article โ†’
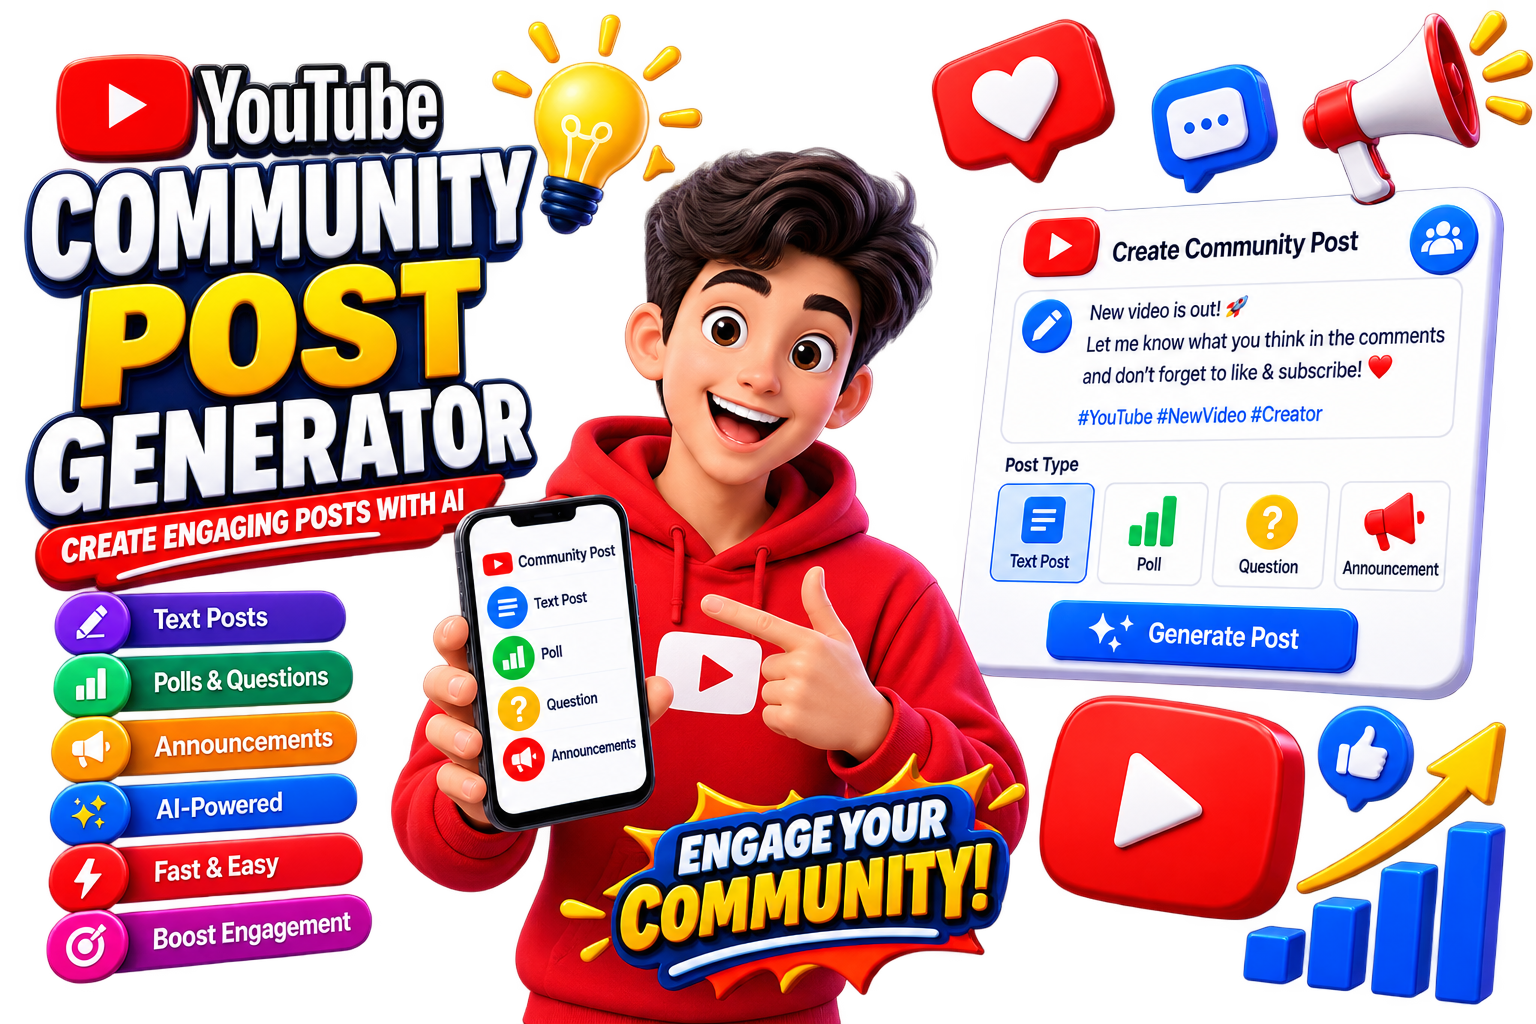
YouTube Community Post Generator for creating posts, polls and questions with AI
Creator Tools

YouTube Community Post Generator: Create Engaging Posts with AI

YouTube Community posts are a simple way to stay connected with your audience between video uploads. You can use them to share updates, ask questions, promote videos, or start conversations with subscribers. What Is a YouTube Community Post Generator? A Community Post Generator helps you quickly create post ideas based on your topic. Instead of writing every post from scratch, you can generate a starting point and customize it for your audience. How to Generate a Community Post Open the EKO24.NET Community Post Generator. Enter your topic or idea. Choose the type of post you want. Generate your post and personalize it before publishing. Create engaging YouTube Community posts with ideas, questions and prompts tailored to your audience. Ideas for YouTube Community Posts Try questions, polls, behind-the-scenes updates, video announcements, quick tips, or simple posts asking viewers what they want to watch next. Keep Your Audience Engaged Community posts work best when they feel natural and encourage interaction. Use the EKO24.NET Community Post Generator whenever you need a quick idea for your next post.

Read Article โ†’
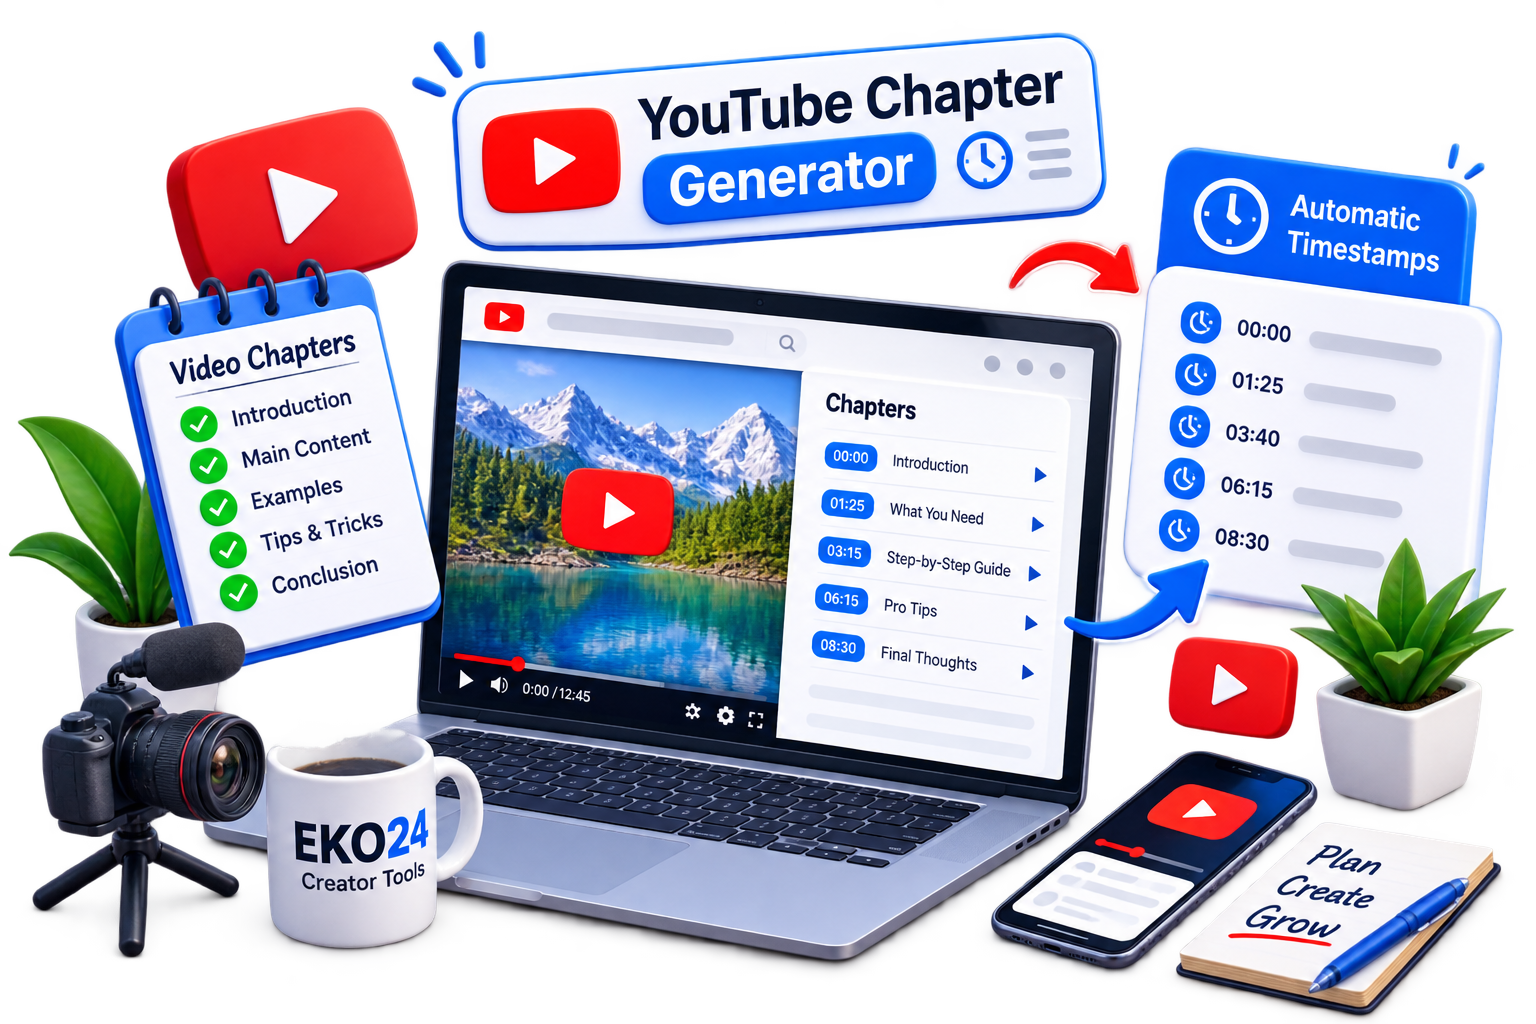
YouTube Chapter Generator: Create Video Timestamps Automatically
Creator Tools

YouTube Chapter Generator: Create Video Timestamps Automatically

YouTube chapters divide a video into sections with timestamps. They help viewers quickly find the part they want and make longer videos easier to navigate. What Is a YouTube Chapter Generator? A YouTube Chapter Generator helps you create organized timestamps for your video without formatting every chapter manually. How to Create YouTube Chapters Open the EKO24.NET YouTube Chapter Generator. Add your video information or content. Generate the chapter timestamps. Review the chapters and copy them to your YouTube description. Generate clear video chapters and timestamps to help viewers navigate your YouTube content. Why Use Video Chapters? Chapters make long videos easier to explore and let viewers jump directly to useful sections. Clear chapter titles also help people understand what your video covers. Create Your Video Timestamps Use the EKO24.NET YouTube Chapter Generator to create clean timestamps quickly and organize your videos into useful sections.

Read Article โ†’
AI Humanizer vs AI Detector: How AI Content Analysis Really Works
Creator Tools

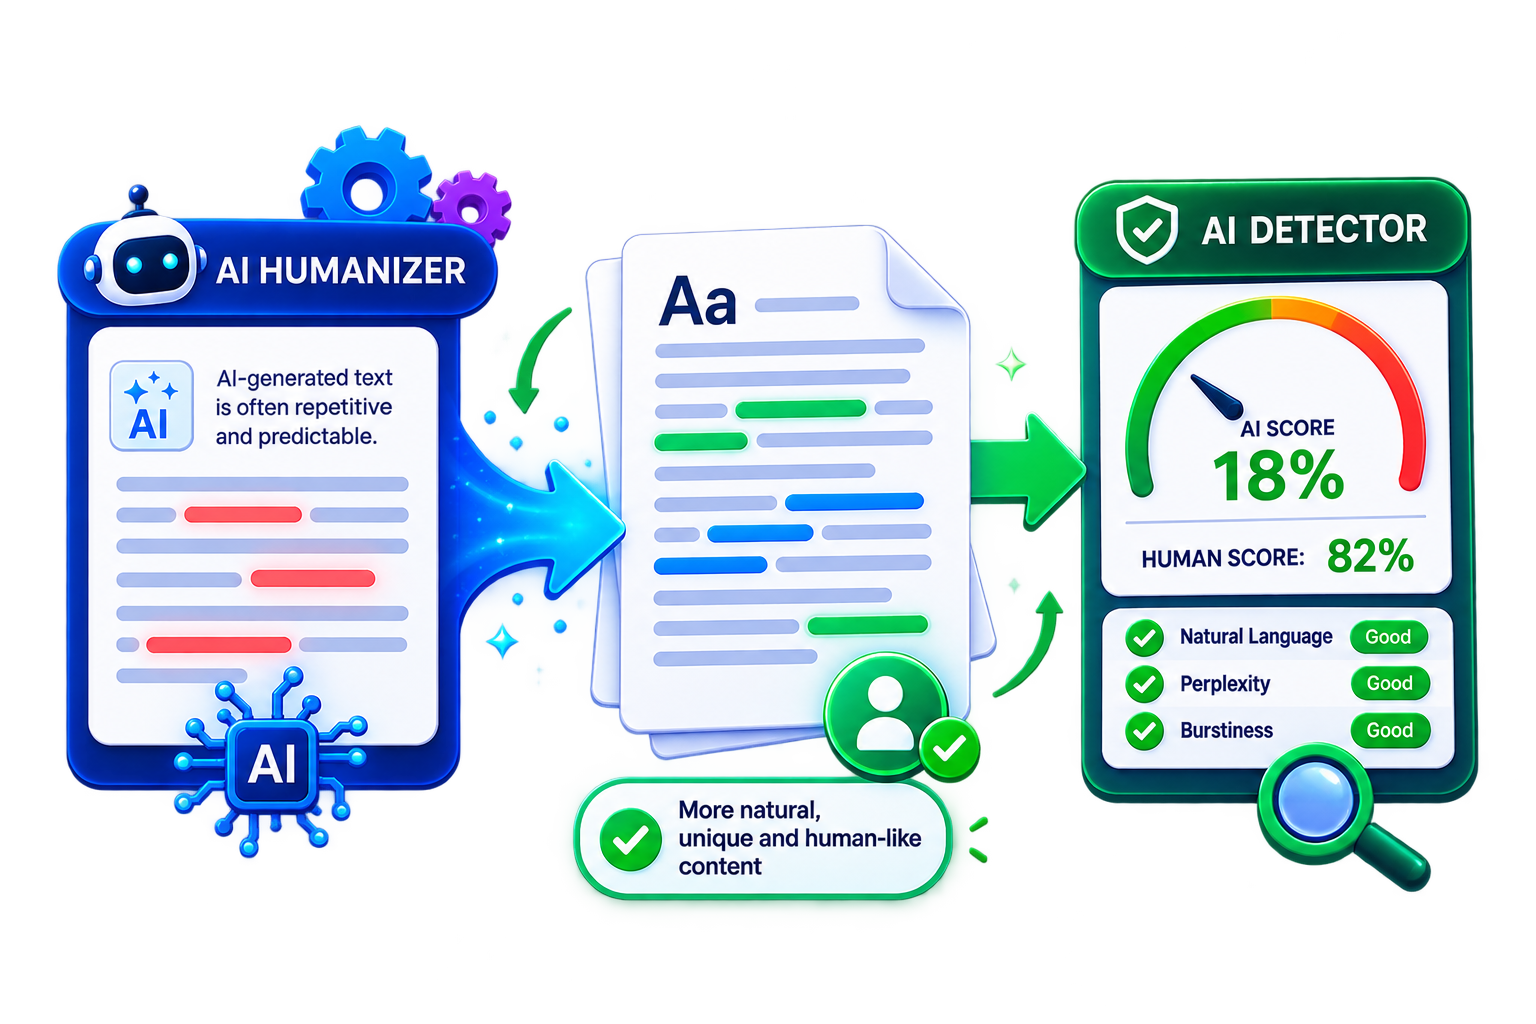
AI Humanizer vs AI Detector: How AI Content Analysis Really Works

AI writing tools have made it harder to tell whether a text was written by a person or generated by AI. This has also increased interest in AI detectors and AI humanizers, but the two tools serve very different purposes. What Is an AI Detector? An AI detector analyzes patterns in text and estimates whether the content may have been generated by an AI system. The result is usually a probability or classification rather than absolute proof. What Is an AI Humanizer? An AI humanizer rewrites text to make it sound more natural and less repetitive. It may change sentence structure, vocabulary, and flow while keeping the original meaning. AI humanizers and AI detectors use different approaches when working with AI-generated text. AI Humanizer vs AI Detector The main difference is simple: a detector analyzes writing patterns, while a humanizer changes them. Neither process can determine authorship with complete certainty. Are AI Detectors Always Accurate? No. Detection tools can produce false positives or different results for the same text. Their scores should be treated as estimates rather than definitive evidence of who or what wrote a document. Use AI Content Tools Carefully AI analysis can be useful for reviewing writing patterns, but context and human judgment still matter. Detection scores alone should not be used to make important decisions about authorship.

Read Article โ†’
YouTube Viral Video Finder: Find Trending Videos Early
Creator Tools

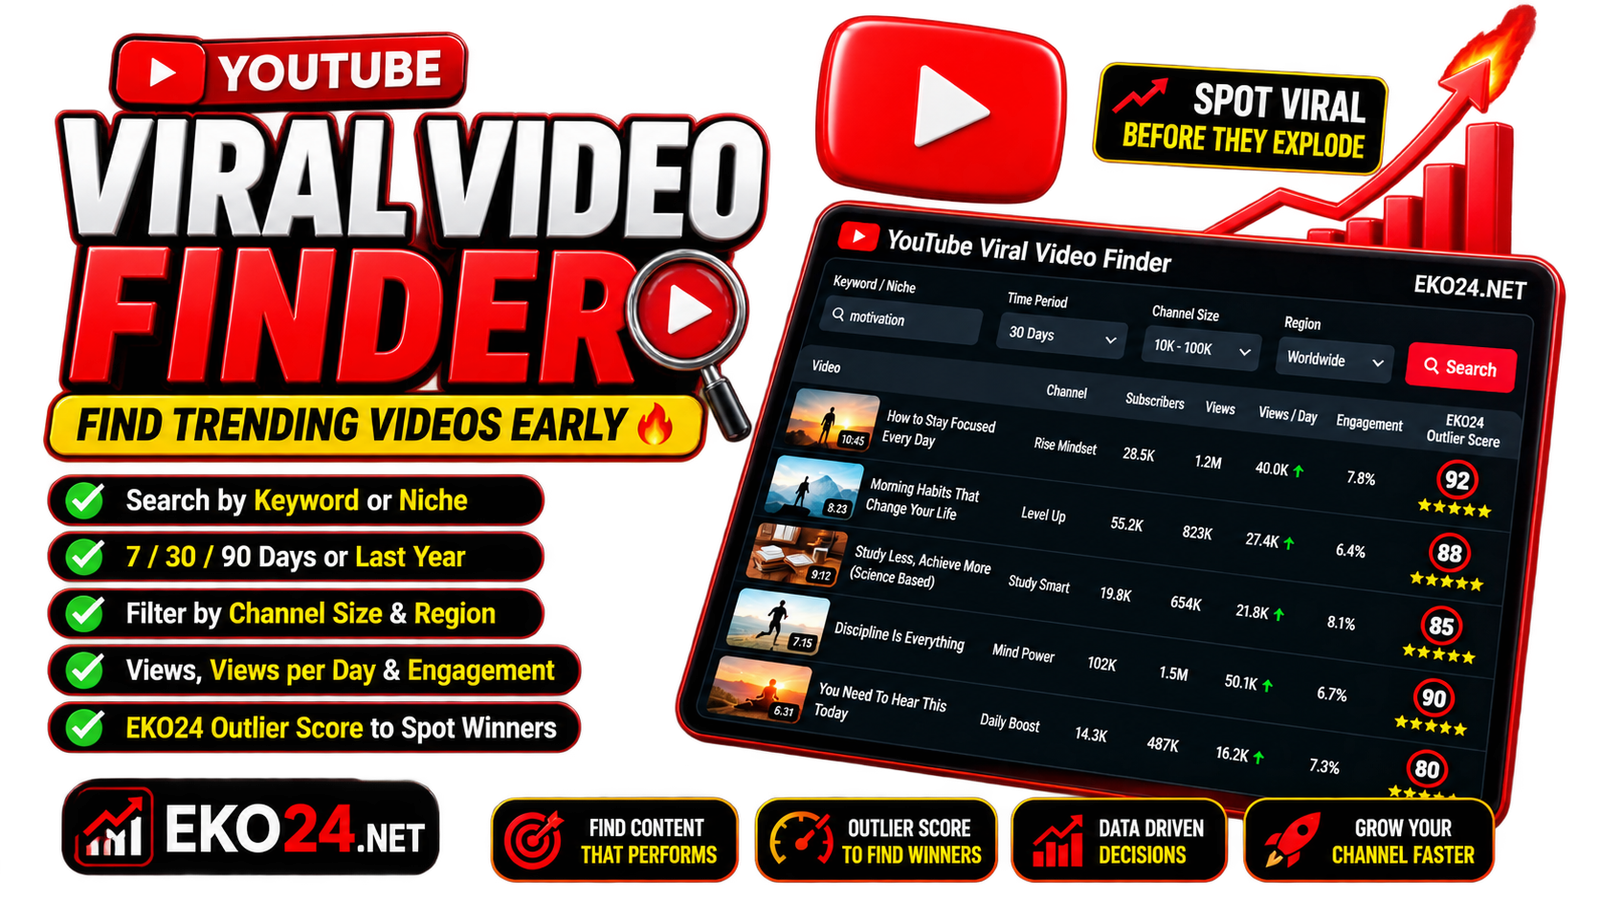
YouTube Viral Video Finder: Find Trending Videos Early

Finding a YouTube video after it has already exploded is easy. The real opportunity is spotting unusual momentum while a topic is still gaining attention. The EKO24.NET YouTube Viral Video Finder is designed to make that research faster by bringing useful public performance signals into one place. Instead of looking only at total views, you can compare recent videos by velocity, engagement, channel size and relative performance. That makes it easier to find videos worth investigating before a trend becomes obvious across your entire niche. What Is the YouTube Viral Video Finder? The EKO24.NET Viral Video Finder searches recent YouTube videos around a keyword or niche and helps surface unusual performers. The goal is not to predict the future. It is to give creators a practical way to identify videos that are currently showing interesting performance signals. The tool includes an EKO24.NET Outlier Score, together with metrics such as views per day, views relative to subscriber count, engagement, likes and video age. The Outlier Score is an EKO24.NET research indicator based on public YouTube signals; it is not an official YouTube metric and it cannot guarantee that a video will become viral. How to Find Trending YouTube Videos Early Enter a keyword or niche. Start with a focused topic related to the audience you want to reach. Choose a time period. Recent windows are especially useful when you want to investigate fresh momentum rather than old lifetime hits. Filter by channel size. Looking at smaller and medium-sized channels can reveal videos whose performance is unusually strong relative to their existing audience. Use a region when relevant. Regional research can help when your content targets a particular market or language. Compare several signals. Do not judge a result by total views alone. Look at velocity, engagement, channel size, video age and relative performance together. Open the EKO24.NET YouTube Viral Video Finder โ†’ Use the EKO24.NET Viral Video Finder to compare rising videos, momentum and outlier performance. Why Views per Day Can Be More Useful Than Total Views A video with one million views may look impressive, but that number tells you very little about what is happening right now. If the video is several years old, its current momentum may be modest. Views per day adds a useful velocity signal. A newer video collecting views quickly can be more interesting for trend research than an older video with a much larger lifetime total. This is especially useful when you are trying to understand what viewers are responding to now. Look for Outliers on Smaller Channels Large channels can generate substantial views from their existing audience alone. Smaller channels sometimes provide a clearer research signal. If a channel with a modest subscriber base suddenly publishes a video that reaches far beyond its usual scale, the topic, packaging or timing may deserve closer attention. This does not mean you should copy the video. Instead, investigate why the subject may be resonating. Is it answering a new question? Covering an emerging product? Using a stronger title angle? Solving a problem that other creators have ignored? Use Engagement as Context Likes and comments can add another layer to your research. A video attracting visible interaction may be connecting strongly with its viewers, but engagement should never be treated as a standalone prediction. Compare it with video age, views per day and relative channel performance. The strongest research opportunities usually become clearer when several signals point in the same direction. Sort Results Based on Your Research Goal Different sorting methods answer different questions. Outlier Score can help surface unusual performance. Views per Day emphasizes current velocity. Engagement highlights visible audience interaction, while Views is useful when you simply want to compare overall reach. Try more than one sorting method. A video that does not appear near the top by total views may become much more interesting when you sort by momentum or relative performance. Turn Viral Research Into Original Video Ideas The purpose of a viral finder is research, not imitation. When you discover a promising video, break down the opportunity rather than copying the execution. What audience problem or curiosity does the video address? Is the topic appearing across several recent videos? Can you offer a clearer explanation, better demonstration or different perspective? Is there a useful subtopic that competing videos have not covered well? Can you create something valuable while the interest is still growing? This approach turns trend discovery into a repeatable content strategy instead of a race to reproduce someone else's work. A Simple Viral Research Workflow Start with one focused niche keyword and a recent time window. Review videos showing strong Outlier Scores or views-per-day figures. Then compare their channel sizes, engagement and publication dates. If several rising videos point toward the same audience need, investigate the pattern manually. Open the videos, study the comments, look at how creators frame the topic, and decide whether you have an original angle worth publishing. You can also send a YouTube URL to the EKO24.NET SEO Checker when you want an additional look at the video's public optimization signals. Can a Viral Video Finder Predict Virality? No. There is no reliable tool that can promise which video will go viral next. YouTube distribution depends on viewer behavior and many other factors that can change as a video reaches different audiences. The EKO24.NET Viral Video Finder should therefore be treated as a research assistant. It helps you notice unusual public performance signals faster, but the final decision still requires human judgment, niche knowledge and an original content idea. Find Opportunities Before They Become Obvious You do not need to chase every trending video. A better strategy is to look for patterns that match your audience and appear early enough for you to create something genuinely useful. Use the YouTube Viral Video Finder to compare recent videos, investigate unusual performers and identify topics gaining momentum. Then turn those signals into original videos that fit your own channel rather than simply following the crowd. Related guide: How to Find Viral YouTube Video Ideas Early in 2026.

Read Article โ†’
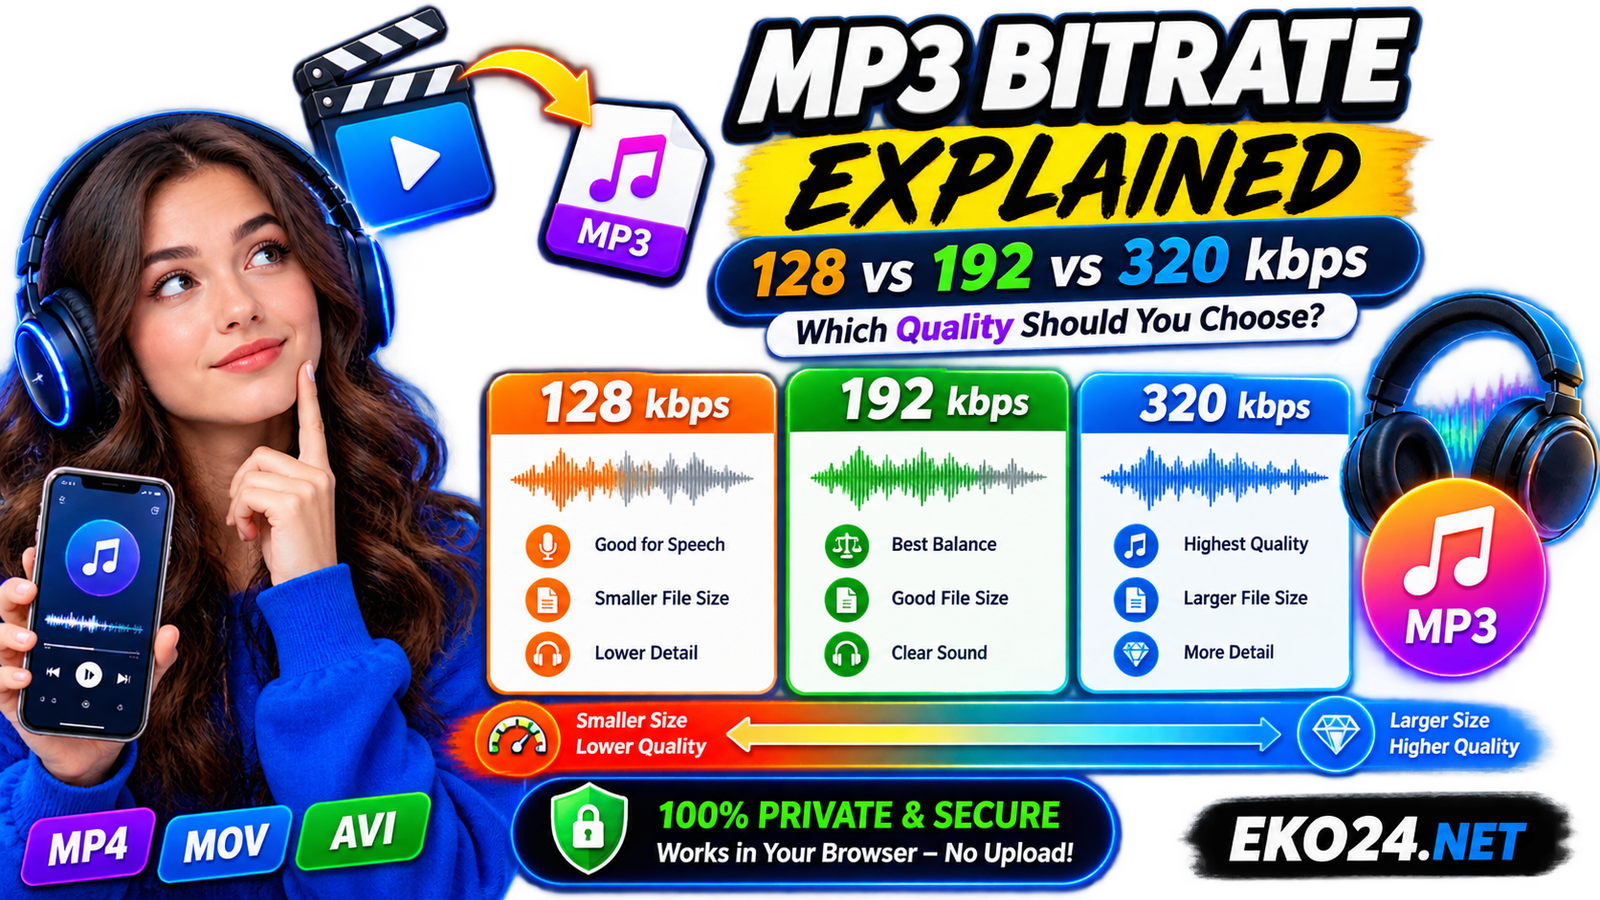
MP3 Bitrate Explained: 128 vs 192 vs 320 kbps
Creator Tools

MP3 Bitrate Explained: 128 vs 192 vs 320 kbps

Choosing an MP3 bitrate looks simple until you are faced with three options: 128, 192, and 320 kbps. The numbers are easy to compare, but the best choice depends on what you are listening to, how good the source audio is, and how much storage you want to use. A higher bitrate can preserve more audio information, but it also creates a larger file. That does not mean 320 kbps is automatically the right setting for every recording. For spoken audio, a smaller bitrate may be perfectly adequate; for music or detailed recordings, the extra data can be worthwhile. This guide explains the practical differences so you can choose the right setting when using the EKO24.NET Video to MP3 Converter or another MP3 workflow. What Does MP3 Bitrate Mean? Bitrate describes how much data is used to represent one second of audio. In MP3 files it is commonly expressed in kilobits per second, or kbps. A 320 kbps file therefore uses more data per second than a 128 kbps file. Because MP3 is a lossy format, encoding reduces some information from the original audio to make the file smaller. Increasing the bitrate gives the encoder more data to work with, which can help preserve detail and reduce audible compression artifacts. 128 kbps: Small Files for Speech and Everyday Listening 128 kbps is the smallest option in the EKO24.NET converter. Its main advantage is efficiency: it produces a substantially smaller file than 320 kbps and can be a sensible choice when storage or transfer size matters. It is particularly practical for lectures, voice notes, interviews, spoken presentations, and other material where speech clarity matters more than subtle musical detail. For casual listening, many people may also find it acceptable, especially on phone speakers or in noisy environments. The trade-off is that complex music can lose more detail at this bitrate. Cymbals, ambience, stereo texture, and dense passages are more likely to reveal the limitations of stronger compression. 192 kbps: The Balanced Choice 192 kbps sits comfortably between file efficiency and audio quality. It uses more data than 128 kbps, giving the encoder more room to preserve detail, while remaining noticeably smaller than a 320 kbps export. For general-purpose conversion, this is a useful default. Podcasts with music, interviews you want to archive, everyday music listening, and mixed audio content can all fit this setting well. If you are unsure which bitrate to select, 192 kbps is usually the most balanced place to start. Higher MP3 bitrates generally preserve more audio information, while lower bitrates create smaller files. 320 kbps: Maximum MP3 Bitrate for More Detail 320 kbps is a common high-bitrate MP3 setting and the highest option offered by the EKO24.NET converter. It is most useful when the original audio is already good quality and you want to minimize additional quality loss during MP3 encoding. This setting makes sense for music, clean studio recordings, high-quality voice production, or files you intend to keep when storage size is not a major concern. However, exporting poor source audio at 320 kbps does not restore missing detail. If a recording is noisy, heavily compressed, or low quality to begin with, a higher output bitrate cannot recreate information that is no longer present. 128 vs 192 vs 320 kbps: Quick Comparison BitrateFile SizePractical Use 128 kbpsSmallestSpeech, lectures, voice notes and space-saving 192 kbpsMediumBalanced everyday listening and mixed content 320 kbpsLargestMusic and higher-quality source recordings As a rough example, one minute of constant-bitrate MP3 audio is about 0.96 MB at 128 kbps, 1.44 MB at 192 kbps, and 2.4 MB at 320 kbps. Actual files can vary depending on the encoding method and metadata. Can You Hear the Difference? Sometimes yes, sometimes no. The answer depends on the source material, your headphones or speakers, the listening environment, and your own hearing. A quiet room with good headphones can make compression differences easier to notice than listening through a phone speaker on a busy street. The type of audio matters too. Spoken voice is generally less demanding than dense music with percussion, ambience, and wide frequency content. That is one reason there is no single bitrate that is best for every file. Does Converting to 320 kbps Improve a Low-Quality File? No. Bitrate describes the output encoding; it does not magically improve the source. Converting a 128 kbps MP3 into a new 320 kbps MP3 makes the new file larger, but it cannot recover audio information discarded by the earlier compression. The same principle applies when extracting audio from video. Start with the best source available, then choose an output bitrate appropriate for how you plan to use the MP3. Which Bitrate Should You Choose for Video to MP3? For a spoken lecture or interview, start with 128 kbps if keeping the file small matters. For general content where you want a comfortable balance, choose 192 kbps. For good-quality music or detailed source audio where file size is less important, choose 320 kbps. You can test these options directly with the EKO24.NET Video to MP3 Converter. The tool processes your own video locally in the browser and lets you select 128, 192, or 320 kbps before conversion. Bitrate Is Only One Part of Audio Quality Do not judge an audio file by bitrate alone. The quality of the microphone, recording environment, original codec, editing, and source material can matter just as much. A clean recording encoded sensibly can sound better than a poor recording saved at a larger bitrate. If you are new to extracting audio from video, read our complete guide to converting video to MP3 in your browser. It explains the conversion process, supported formats, privacy considerations, and how the EKO24.NET tool works. Related guides: Best YouTube Setup for Beginners in 2026: Camera, Microphone, Lighting & Budget Gear and How to Find Viral YouTube Video Ideas Before Your Competitors in 2026. Final Recommendation Use 128 kbps when small files and clear speech are the priority, 192 kbps when you want a practical balance, and 320 kbps when preserving more detail from a good source matters more than storage space. The important part is matching the bitrate to the source and the purpose of the file. Once you do that, choosing between 128, 192, and 320 kbps becomes much simpler.

Read Article โ†’
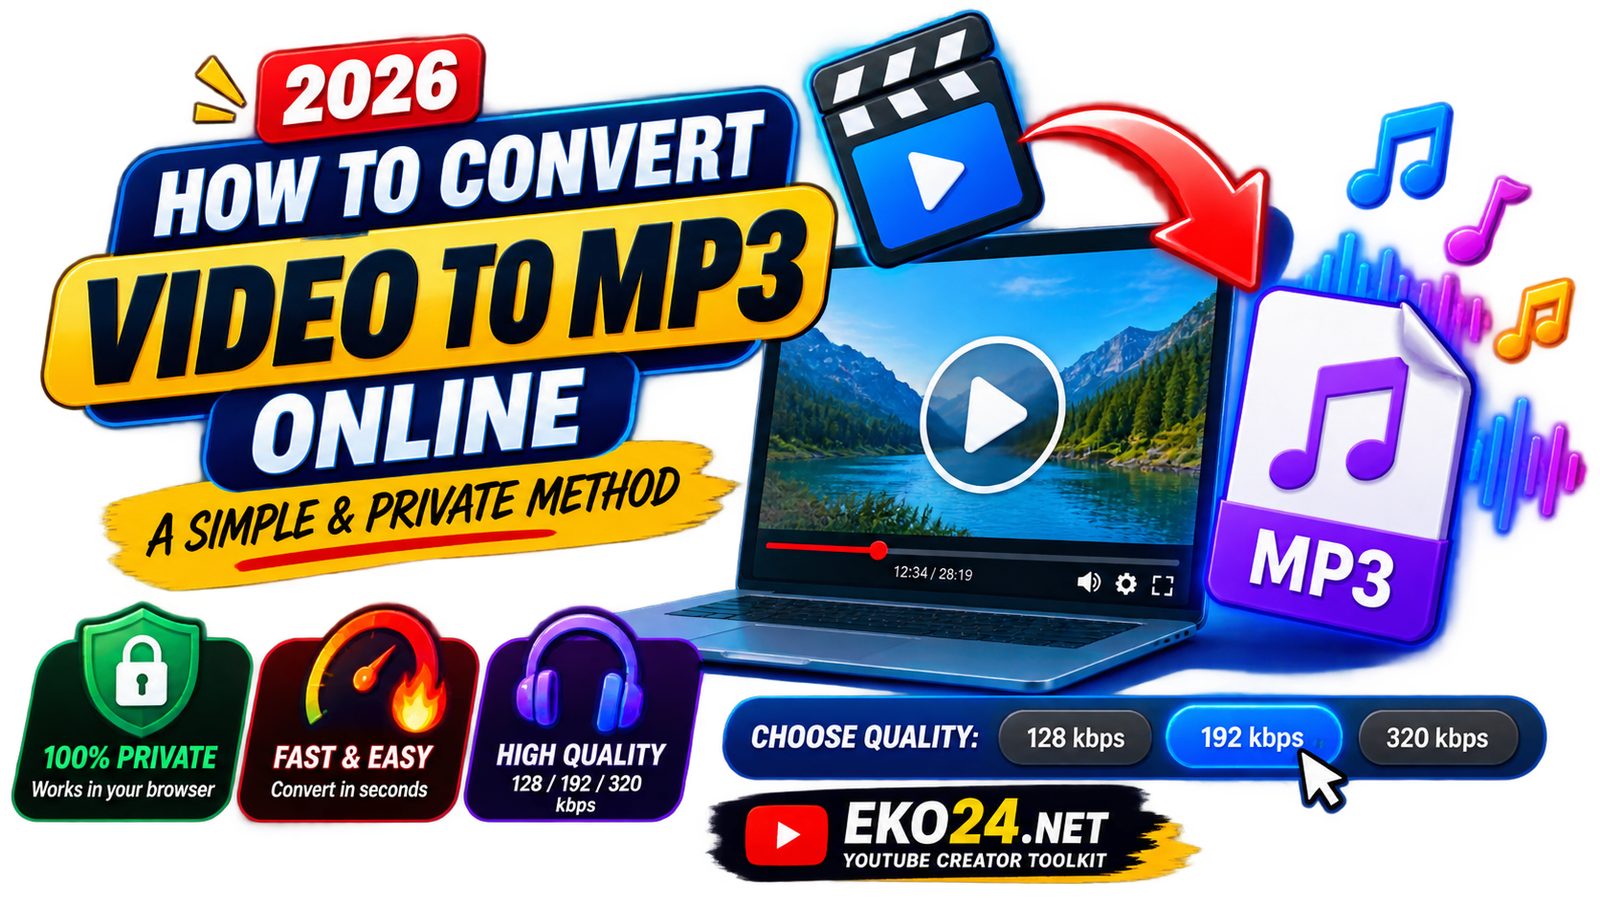
How to Convert Video to MP3 Online Privately in 2026
Creator Tools

How to Convert Video to MP3 Online Privately in 2026

Sometimes you do not need the video at all. You may have recorded an interview, a podcast, a lecture, a voice-over, or your own video project and simply want an audio copy that is easier to listen to or reuse. That is where a video-to-MP3 converter is useful. Instead of opening a full video editor, exporting a new project, and working through complicated settings, you can extract the audio in a few steps. With the EKO24.NET Video to MP3 Converter, the conversion happens directly in your browser. Your source video does not need to be uploaded to EKO24.NET, which makes the workflow simple and privacy-friendly. Why Convert a Video to MP3? MP3 is still one of the most widely supported audio formats. It works on phones, computers, car audio systems, media players, editing applications, and many other devices. Converting your own video to MP3 can make sense when you want to: create an audio-only copy of a podcast or interview; listen to a lecture or presentation without keeping the video open; extract your own voice-over or narration for another project; save an audio version of a recording for easier playback; reduce the amount of storage required when the picture is no longer needed. How Browser-Based Video to MP3 Conversion Works Traditional online converters often require you to upload a video to a remote server, wait for the server to process it, and then download the result. A browser-based converter can take a different approach. EKO24.NET uses a browser audio engine to process the selected file on the visitor's own device. In practical terms, the conversion work is handled by your browser rather than by EKO24.NET's server. Video to MP3 conversion can run directly in the browser, keeping the workflow simple and private. 128, 192 or 320 kbps: Which MP3 Quality Should You Choose? The bitrate controls how much audio data is used each second. A higher bitrate generally preserves more detail, but it also produces a larger MP3 file. 128 kbps This is a practical choice for speech-heavy material such as lectures, spoken notes, interviews, and voice recordings where keeping the file small matters more than preserving every audio detail. 192 kbps For many people, 192 kbps is the best everyday balance. It offers better audio quality than 128 kbps while keeping the resulting file reasonably compact. If you are unsure which setting to use, this is a sensible starting point. 320 kbps This is the highest option available in the EKO24.NET converter. It is useful when the source audio is already high quality and you want to retain more detail. The trade-off is a larger file. How to Convert Video to MP3 with EKO24.NET You do not need to install desktop conversion software. Open the Video to MP3 Converter and follow these steps: Click Choose File and select a video you own or have permission to use. Select 128 kbps, 192 kbps, or 320 kbps. Click Convert Video to MP3. Keep the browser tab open while the conversion runs. When you see Your MP3 is ready, click Download MP3. Conversion speed depends on the length of the video, its codec and resolution, and the performance of your computer or phone. A short video will normally be much easier on the browser than a very large recording. Which Video Formats Can You Try? The converter is designed for common formats such as MP4, MOV, WebM, MKV, and M4V. Because processing happens through a browser-based FFmpeg engine, compatibility can also depend on the codecs used inside the source file and the capabilities of the browser and device. If one unusual file does not convert successfully, testing a standard MP4 or WebM source is a useful way to determine whether the issue is the original codec rather than the converter itself. Privacy: What Happens to Your Video? One of the most useful aspects of this implementation is that EKO24.NET does not need to receive the source video for the conversion itself. The selected file is processed locally by the browser. This also means your own device provides the memory and processing power. Very large files can therefore take longer or put more pressure on a phone or low-memory computer. A Note About Copyright and Permissions A file converter is useful for legitimate personal and creative workflows, but the fact that a file can be converted does not automatically give someone permission to use its content. Use the EKO24.NET converter for videos you created, own, or are authorized to convert. The tool is not designed to accept YouTube URLs, bypass platform restrictions, or download third-party videos. Do You Need 320 kbps Every Time? No. Choosing the largest bitrate for every file is not automatically better. If the source is a spoken lecture recorded with modest audio quality, exporting at 320 kbps cannot recreate detail that was never present in the recording. Think about the source and the intended use. For speech, 128 kbps may be enough. For general-purpose audio, 192 kbps is a strong balance. For good-quality music or recordings where detail matters, 320 kbps can be worthwhile. Related guides: Best YouTube Setup for Beginners in 2026: Camera, Microphone, Lighting & Budget Gear and How to Find Viral YouTube Video Ideas Before Your Competitors in 2026. Final Thoughts Extracting audio should not require a complicated editing workflow. For your own authorized files, a browser-based converter gives you a quick way to turn a video into an MP3 while keeping the source processing on your device. If you want to try it, open the EKO24.NET Video to MP3 Converter, choose a small video for your first test, select the audio quality you need, and let the browser handle the conversion.

Read Article โ†’
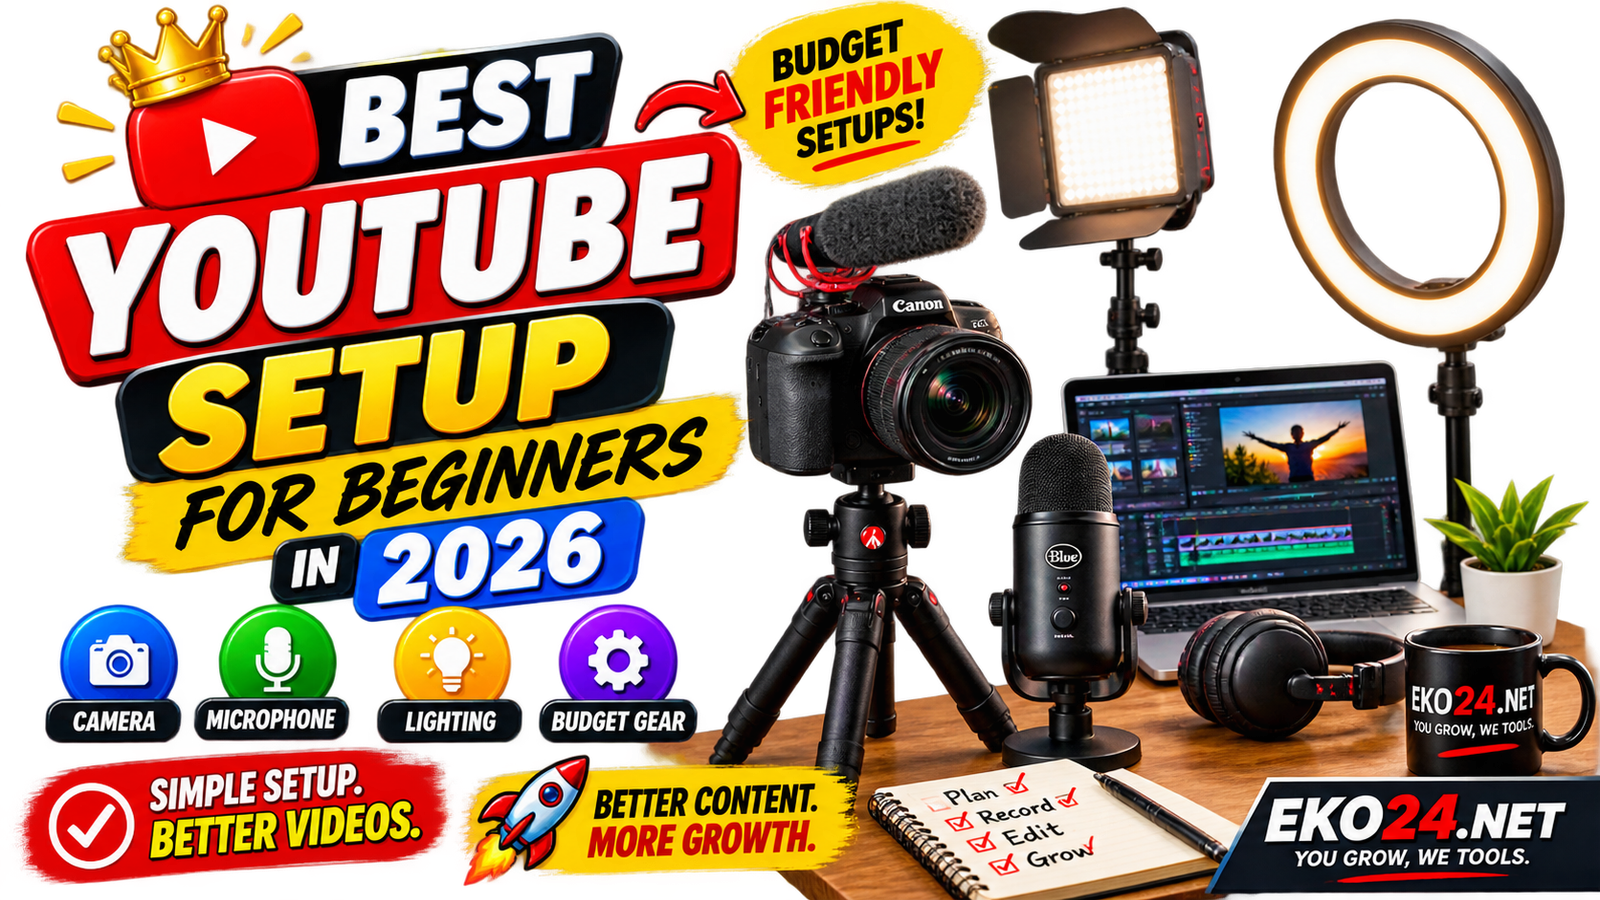
Best YouTube Setup for Beginners in 2026
Creator Tools

Best YouTube Setup for Beginners in 2026

Starting a YouTube channel is exciting right up until you begin shopping for gear. Suddenly there are hundreds of cameras, microphones, lights, tripods, capture devices, and accessories telling you that your first video needs a professional studio behind it. It does not. A beginner setup should solve three simple problems: viewers need to see you clearly, hear you comfortably, and understand what you are trying to say. Everything else can improve later. The smartest setup is not the most expensive one; it is the one you can actually use consistently. This guide breaks down what is worth buying first, what can wait, and how to build a practical YouTube setup around your real budget. Start With the Gear You Already Have If you own a reasonably recent smartphone, you probably already have a camera capable of producing a good first YouTube video. Before buying a dedicated camera, record a short test near a window, clean the lens, use the rear camera when practical, and keep the phone stable. The result may surprise you. Good light and clean audio can make a modest camera look far better than an expensive camera used in a dark room with bad sound. That is why I would usually spend a beginner's first dollars on audio, lighting, and stability before replacing the camera. Three Sensible Budget Levels Budget setup: roughly $100โ€“$300 This is enough for many new creators. Use your smartphone as the camera, add a basic lavalier or USB microphone, a small LED light or ring light, and a stable phone tripod. If your room has good daylight, you may not even need to buy a light immediately. The goal at this level is reliability. You want to be able to sit down, set up quickly, record clear audio, and publish without fighting your equipment every time. Mid-range setup: roughly $300โ€“$800 Once you know you enjoy making videos and understand what your current setup is limiting, a mirrorless or DSLR-style camera can make sense. Pair it with a decent USB microphone or compact shotgun microphone, an LED panel, and a sturdy tripod. Do not upgrade everything at once. If your phone already looks good but your audio sounds distant, buy the microphone first. If the audio is clean but the image looks flat and noisy, improve the lighting before blaming the camera. Advanced setup: $800 and above At this point you are paying for more control: better lenses, stronger low-light performance, XLR microphones, audio interfaces, larger softboxes, more reliable stands, and equipment that is easier to use in demanding situations. Those upgrades can be valuable, but they make the most sense after your content has shown you exactly what you need. Buying an advanced setup before you have a recording routine often creates more complexity than quality. YouTube beginner setup: budget levels and practical microphone placement. Camera: Do Not Buy Specs You Cannot See It is easy to get lost comparing resolution, sensor sizes, bitrates, autofocus systems, and frame rates. For most beginner YouTube channels, a few practical features matter more: dependable autofocus, a clean image in your normal room, easy file transfer, good battery options, and a screen you can monitor while recording. 4K can be useful for cropping and reframing, but it is not a requirement for making a useful video. A well-lit 1080p video with a strong idea will beat a dull 4K video every time. Microphone: Viewers Forgive Average Video Before Bad Audio If people struggle to understand you, they leave. That makes audio one of the highest-value upgrades in a beginner setup. Whatever microphone you use, distance matters. A modest microphone positioned 15โ€“20 cm (about 6โ€“8 inches) from your mouth can sound much better than a premium microphone sitting across the room. Keep it slightly off to the side so breathing and hard consonants do not hit the capsule directly. Record a 20-second test before a long session. Wear headphones, listen for echo, computer fans, traffic, air conditioners, and desk vibrations. Fixing those problems before recording is much easier than trying to remove them later. Lighting: One Good Light Can Change Everything You do not need a complicated studio to improve your image. Start with one soft light placed slightly above eye level and around 45 degrees to one side of your face. If you have a window with soft daylight, that can be your key light for free. A classic three-point setup adds a fill light on the opposite side to soften shadows and a back light behind you to create separation from the background. It looks polished, but beginners should not feel pressured to buy three lights immediately. Start with one. Learn where to place it. Then add more only when you understand what problem the extra light is solving. Your Background Matters Less Than You Think A clean background usually works better than a crowded attempt at looking โ€œprofessional.โ€ Move distracting objects out of frame, create a little distance between yourself and the wall, and avoid having bright windows directly behind you. A plant, shelf, lamp, or subtle colored light can add depth later. None of those things should compete with the person speaking. What I Would Buy First If I were starting from zero with a phone and a limited budget, my order would be simple: a stable tripod, a microphone that can stay close to my mouth, and one controllable light. I would record several videos before considering a new camera. That approach is less exciting than unboxing a pile of equipment, but it tells you something valuable: whether a new purchase will actually improve your videos. Common Beginner Gear Mistakes Buying a camera before fixing audio. Sharp video does not compensate for sound that is difficult to understand. Buying everything at once. You will not know which upgrades actually helped. Ignoring the room. Echo and uncontrolled light can make expensive equipment perform badly. Leaving the camera in automatic mode forever. Auto settings are useful at first, but learning basic exposure and white balance gives you more consistent results. Building a setup that takes 30 minutes to assemble. Friction kills consistency. Make recording easy. Do Not Forget the Video Idea and Packaging Gear gets attention because it is tangible, but equipment cannot rescue a video nobody wanted to click. Before recording, make sure the idea solves a real problem or offers a clear reason to watch. You can use the EKO24.NET Keyword Generator to explore how viewers phrase a topic, then build a clear visual concept with the Thumbnail Maker. Before publishing, the SEO Checker can help you review the basic optimization, while the Watch Time Calculator is useful when you want to understand how viewing time translates into channel growth. Use tools as a final layer around a good video, not as a substitute for one. A Setup You Can Grow With The best beginner YouTube setup in 2026 is not a fixed shopping list. A gaming creator, a vlogger, a tutorial channel, and someone filming interviews all need different things. Build around what you actually make. Start with what you have, improve the weakest part of your production, and give every new purchase a job. When your audience grows, your equipment can grow with it. Most importantly, do not wait for the perfect camera to make the first video. Your tenth video will teach you more about the gear you need than another ten hours of shopping ever will. Related guides: How to Convert Video to MP3 Online in 2026: A Simple and Private Method and How to Find Viral YouTube Video Ideas Before Your Competitors in 2026.

Read Article โ†’
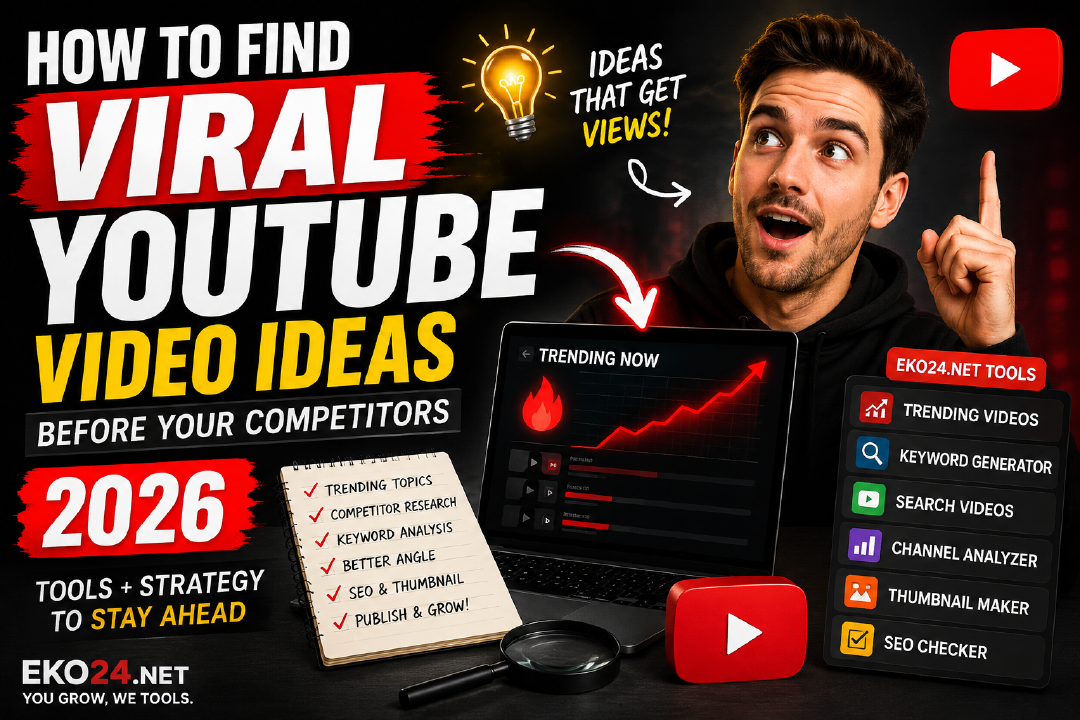
How to Find Viral YouTube Video Ideas Early in 2026
Creator Tools

How to Find Viral YouTube Video Ideas Early in 2026

You know the feeling: you spend days making a video you genuinely believe is useful, publish it, and then watch it sit there while another creator uploads something simpler and gets ten times the attention. It is tempting to blame the algorithm, but very often the difference started before either creator pressed record. One of them chose a topic people were becoming interested in at exactly the right moment. Finding a promising YouTube idea early is not about predicting the future or copying whatever is already viral. It is about noticing small signals before they become obvious to everyone else. That can be a question appearing repeatedly in comments, a new feature people are confused about, an unusual video outperforming the rest of a small channel, or a search phrase that suddenly seems to be everywhere. Here is a practical way to turn those signals into video ideas without turning your channel into a trend-chasing machine. 1. Start With People, Not Keywords Keyword research is useful, but I would not make it the first step. Start by listening to the people you actually want to reach. Open recent videos in your niche and read the newest comments. Visit community posts. Pay attention to questions that creators mention but never fully answer. A comment with only two likes can be more valuable than a keyword with an impressive number beside it. If the same question keeps appearing in different places, you may be looking at demand before it has a neat keyword attached to it. Keep a simple list of these questions. Do not judge them yet. At this stage you are collecting clues, not choosing your next upload. 2. Look for Videos That Should Not Be Performing That Well One of my favorite signals is an outlier: a video whose view count looks unusually high compared with the creator's normal performance. Imagine a channel where recent uploads usually receive 2,000 to 5,000 views. Then one video from two weeks ago has 80,000. That does not automatically mean you should make the same video. It does mean you should investigate why viewers cared so much about that subject. Search YouTube for the topic and compare several results. EKO24.NET's Search Videos tool can also help you move through video results while you are researching. Look beyond the biggest channels. Smaller channels with unusually successful videos are often more interesting because their results are less likely to be explained by an enormous existing audience. 3. Ask Whether the Interest Is Growing or Already Exhausted There is a big difference between an emerging topic and yesterday's viral topic. By the time every large creator has published the same angle, being the twenty-fifth person to repeat it rarely gives you an advantage. Look at publication dates. Are several successful videos appearing within the last few days? Are viewers asking follow-up questions that still have weak answers? Are creators covering the broad story while ignoring a useful subtopic? Those are better signs than simply seeing one video with millions of views. Also ask a basic question: will somebody still care about this by the time my video is finished? If your production takes a week and the trend will probably disappear tomorrow, skip it. A smaller opportunity with a longer useful life can be much more valuable. 4. Turn a Broad Trend Into a Specific Problem Broad topics attract attention, but specific problems give viewers a reason to choose your video. Suppose a new editing feature is trending. A generic video called New Editing Feature Explained may put you against every established channel in the niche. A more useful angle might be How I Use the New Feature to Cut Editing Time in Half or 3 Mistakes Beginners Make With the New Feature. The subject is the same. The promise is different. This is where many creators can compete without needing the largest audience. You are not trying to own the entire trend. You are trying to answer one part of it better than anyone else. 5. Check How Real People Phrase the Idea Once you have an angle, keyword research becomes useful. Put the core phrase into EKO24.NET's Keyword Generator and compare the variations with the language you saw in comments and search results. Do not force an awkward keyword into your title simply because a tool suggested it. The final phrase should still sound like something a person would say or type. Keywords are evidence of language and intent; they are not instructions for writing robotic titles. I usually keep one primary phrase and a handful of closely related terms. That is enough to guide the title, description and structure without turning the video into an SEO exercise. 6. Decide What You Can Add That Is Actually Yours This is the step that prevents research from becoming copying. Before making the video, write one sentence answering: Why should someone watch my version? Your advantage could be personal experience, a clearer demonstration, a cheaper method, a test nobody else performed, a beginner-friendly explanation, a regional perspective, or simply a more honest comparison. If you cannot answer that question, the idea probably needs more work. Being early helps, but being useful matters more. 7. Test the Title and Thumbnail Before You Film Everything A surprisingly good idea can fail because it is difficult to package. Before spending hours recording, sketch two or three possible titles and thumbnail concepts. The title should communicate the value without explaining the entire video. The thumbnail should add information or emotion rather than repeat the same sentence. If both say exactly the same thing, you are wasting half of your packaging. You can use the EKO24.NET Thumbnail Maker to rough out a concept and the Thumbnail Downloader to study how successful videos in the same space communicate their ideas visually. Study patterns, not designs to copy. 8. Do a Final SEO Check, Then Stop Tinkering Before publishing, make sure the basics are clean: the title matches the actual video, the description explains what viewers will get, and your metadata stays focused on the subject. EKO24.NET's SEO Checker can be useful as a final pass. Then stop optimizing and publish. Creators sometimes spend so long polishing metadata that the opportunity passes them. A good video published while people are actively asking the question is usually more useful than a theoretically perfect upload arriving three weeks late. A Simple 30-Minute Research Routine You do not need to spend an entire day hunting for ideas. Try this routine when you are planning your next upload: 10 minutes: Read recent comments and note repeated questions. 10 minutes: Search those topics and look for unusual performers, especially on smaller channels. 5 minutes: Check keyword variations and identify the clearest viewer intent. 5 minutes: Write three different angles and choose the one where you can contribute something original. After a few weeks, you will start recognizing patterns faster. More importantly, you will build your own database of audience problems instead of depending on a random list of โ€œviral ideas.โ€ Related guides: How to Find Underrated YouTube Topics Before They Go Viral and Mastering YouTube Video Search: How to Find Hidden Content and Niche Ideas. Final Thought The goal is not to beat every competitor to every trend. That is exhausting, and it usually produces forgettable content. The better goal is to notice opportunities early enough that you still have time to make something genuinely helpful. Watch what viewers ask. Notice unusual performance. Verify that interest is real. Find a narrower angle. Then bring your own experience or perspective to it. That process is less glamorous than trying to โ€œhack the algorithm,โ€ but it gives you something much more useful: a repeatable way to find videos worth making.

Read Article โ†’
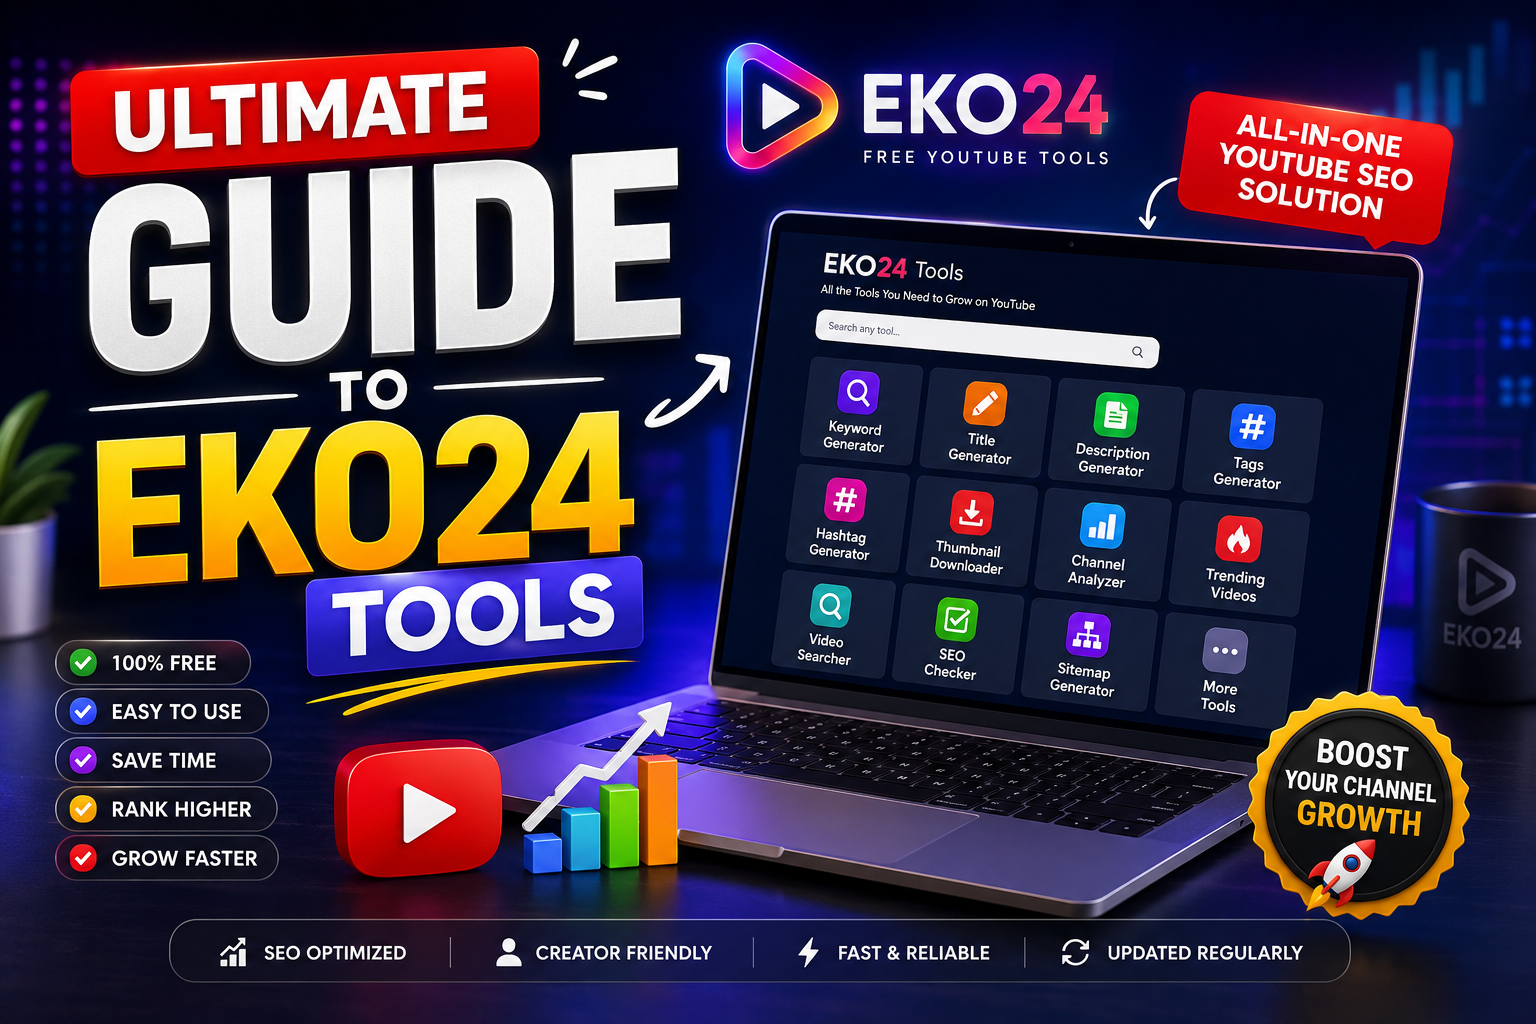
Ultimate Guide to eko24.net Tools
Creator Tools

Ultimate Guide to eko24.net Tools

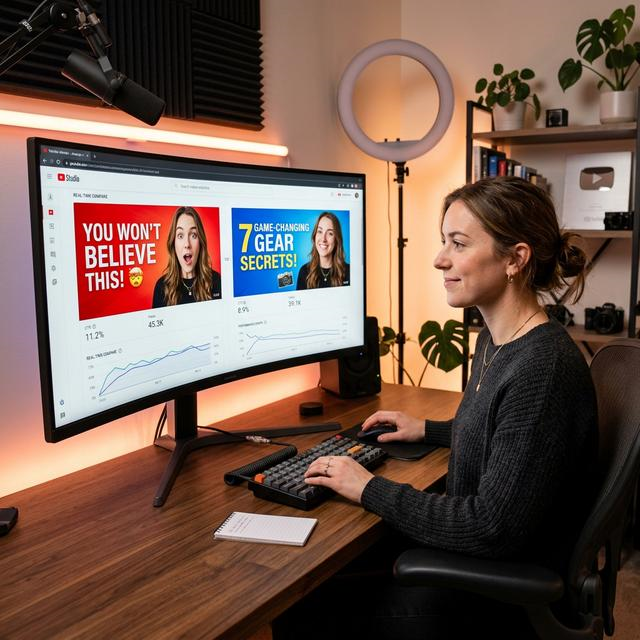
Growing a YouTube channel in today's competitive landscape requires more than just uploading great videosโ€”it demands smart strategies, efficient workflows, and the right toolkit. Welcome to the ultimate guide on how you can leverage EKO24.NET Tools to scale your channel completely for free! 1. Why Every Creator Needs a Dedicated Toolkit Time is a creatorโ€™s most valuable asset. Spending hours on repetitive tasks like thumbnail generation, tag research, or description formatting can burn you out. The YouTube Creator Toolkit section on EKO24.NET is designed specifically to cut down your administrative time so you can focus on what matters most: creating engaging video content. 2. Mastering Video SEO for Maximum Reach Search Engine Optimization (SEO) is the backbone of organic growth. Even if your content is top-tier, without proper optimization, nobody will find it. Craft Compelling Titles: Use curiosity gaps and powerful keywords within the first 50 characters. Leverage Accurate Tags: Group your videos into specific categories like Gaming, Tech, or Creator Tips to help YouTubeโ€™s algorithm understand your audience. Detailed Descriptions: Write clear summaries packed with relevant context and timestamps. 3. Boosting Your Click-Through Rate (CTR) Your thumbnail and title are your video's first impression. A high CTR tells YouTube that people are interested in your content, which triggers the recommendation algorithm to push your video to a broader audience. Make sure your visuals are clean, high-resolution, and clear even on mobile devices. Pair them with concise, punchy titles that promise value. Related guides: Boost Your Growth: Best YouTube Channel Analyzer Tools and How a Live Subscriber Counter Works (And Why Creators Use It). Conclusion Growing on YouTube doesn't require an expensive budget; it requires consistency, data-driven optimization, and the right set of utilities. Explore the rest of the resources on EKO24.NET to access more free guides, tools, and creator assets designed to elevate your channel today!

Read Article โ†’
How to Download High-Resolution YouTube Thumbnails in 2026
Creator Tools

How to Download High-Resolution YouTube Thumbnails in 2026

We have all seen a YouTube thumbnail that made us pause and click. Whether it is the bold text, crisp lighting, or perfect framing, analyzing successful thumbnails in your niche is one of the smartest ways to figure out what actually works on the platform. Sometimes, you just need to save that cover image to study the design, build a reference board, or even recover a high-res copy of your own lost video artwork. The Quickest Trick: Getting the HD Image URL YouTube actually stores high-res versions of every video thumbnail on their servers, and you can grab them directly if you know the URL trick. Every video has a unique ID, which is the random string of characters after 'v=' in the browser bar. Once you copy that ID, just drop it into this link: https://img.youtube.com/vi/YOUR_VIDEO_ID/maxresdefault.jpg If the video owner uploaded an HD thumbnail, this link will display the full-sized image in high resolution. From there, just right-click and save it. Using Web Downloaders If you do not want to mess with editing URLs manually, online YouTube thumbnail tools do the exact same thing in one click. You just paste the video link, choose the quality you want (from standard quality up to max resolution), and hit download. Related guides: YouTube Description Generator: Craft High-Ranking Descriptions in Seconds and YouTube Keyword Generator: How to Uncover High-Traffic Search Terms. You can also try the EKO24.NET Thumbnail Maker for a related creator workflow.

Read Article โ†’
How to Use a Video SEO Checker to Rank Higher on YouTube
Creator Tools

How to Use a Video SEO Checker to Rank Higher on YouTube

Uploading a great video is only half the battle on YouTube. If the algorithm doesn't understand what your content is about, it won't show it to the right audience. That is where a Video SEO Checker comes into play. Think of a video SEO check as a quick health inspection for your channel's metadata. It analyzes your titles, descriptions, tags, and overall keyword optimization before or after you hit publish. What Does a Video SEO Checker Analyze? - Title Optimization: Checks if your main search target is placed near the beginning of your title where it carries the most weight. - Description Density: Ensures you are writing detailed context for search crawlers without keyword stuffing. - Tag Relevance: Evaluates whether your tags match user search intent and topic clusters in your niche. Why You Should Audit Your Videos Regularly Search trends on YouTube shift fast. Running your older or underperforming videos through an audit tool helps you spot missing keywords, fix weak metadata, and update outdated descriptions. Related guides: YouTube Title Generator: How to Create High-CTR Titles That Rank and Boost Your Growth: Best YouTube Channel Analyzer Tools. You can also try the EKO24.NET Keyword Generator for a related creator workflow.

Read Article โ†’
The Best YouTube Thumbnail Maker Tools & Design Secrets
Creator Tools

The Best YouTube Thumbnail Maker Tools & Design Secrets

You can upload the most incredible video, but if your thumbnail doesn't grab a viewer's attention, your view count will suffer. It's often the single most critical factor in a video's success, directly influencing your Click-Through Rate (CTR). What are the Best Thumbnail Makers available in 2026? - Canva (Web & Mobile): A powerhouse for easy design. It offers thousands of pre-made, customizable YouTube thumbnail templates. - Pixlr & Photopea (Web): Excellent for users needing robust, layer-based editing without expensive software. - Adobe Express: Provides powerful quick actions, background removal, and a vast asset library.

Read Article โ†’
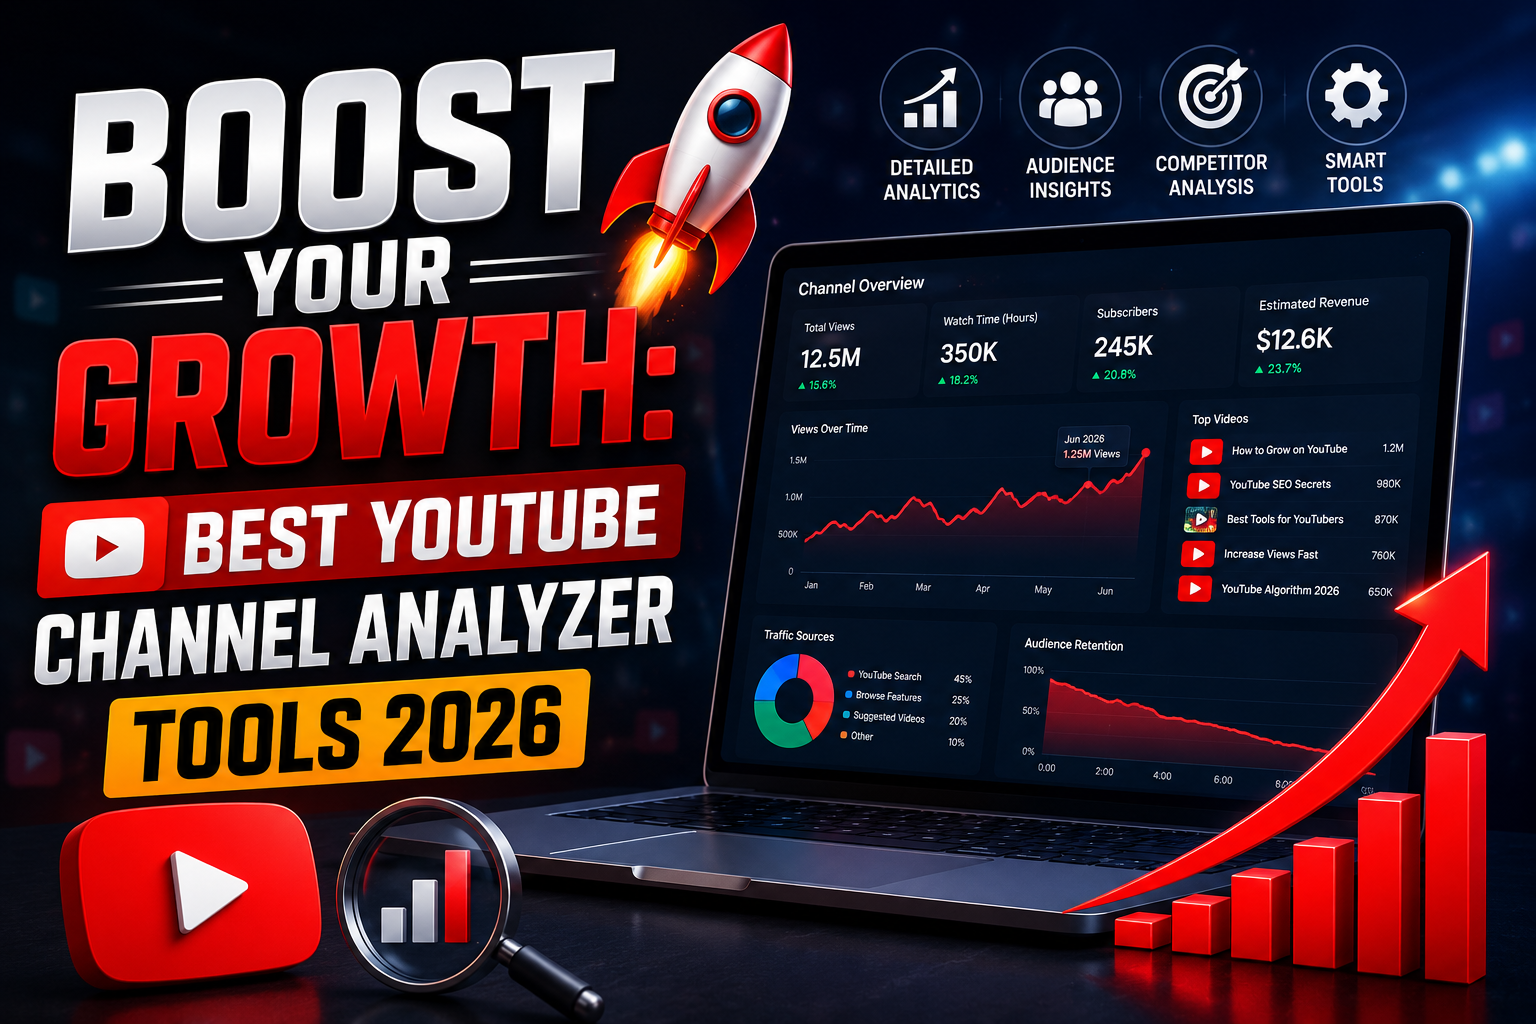
Boost Your Growth: Best YouTube Channel Analyzer Tools
Creator Tools

Boost Your Growth: Best YouTube Channel Analyzer Tools

Running a successful YouTube channel requires more than just gut feeling; it demands data-driven decisions. YouTube's native analytics are great, but external auditing tools give you an edge over your niche competitors. What can a dedicated Channel Analyzer show you? - Competitor Benchmarking: Compare your growth metrics and view velocity side-by-side with other channels. - Hidden Keyword Insights: Uncover high-traffic keywords driving views to competitor videos. - Best Upload Times: Pinpoint the exact hours when your audience is most active online. Top Tools to Audit Your Channel: 1. TubeBuddy: Integrated directly into YouTube for metadata analysis and competitive comparisons. 2. VidIQ: Excels at real-time metrics and offers a detailed score card for video performance. 3. Social Blade: The classic choice for quick public channel stats and long-term projection graphs. Related guides: The Ultimate YouTube Creator Toolkit: 7 Essential Tools to Grow Your Channel and How a Live Subscriber Counter Works (And Why Creators Use It).

Read Article โ†’
YouTube Video Search: Find Hidden Content and Niche Ideas
Creator Tools

YouTube Video Search: Find Hidden Content and Niche Ideas

Ever feel like YouTube's search bar keeps pushing the same handful of massive channels every time you search for something? You're not alone. YouTubeโ€™s default search algorithm naturally leans toward established creators with millions of views. But if you are a creator looking for unique content ideas, or just someone looking for specific tutorials, relying on standard search can be frustrating. Smart Search Operators You Should Be Using Most users simply type a few words and hit enter. But using search filters and exact operators can completely transform your search results: - Exact Phrases: Wrap your search query in quotation marks (e.g., "video editor setup") to force YouTube to return videos containing that exact phrase in the title or description. - Exclude Keywords: Use the minus sign to strip away unwanted topics. For example, typing "laptop review -apple" removes all MacBook reviews from your feed. - Upload Date Filters: Switch the search filter to 'This Week' or 'This Month' to discover fresh topics before they get saturated. How Creators Use Video Search for Topic Research Video search isn't just for watchingโ€”it is one of the best market research tools available. By searching long-tail questions in your niche, you can identify 'content gaps'โ€”topics where people are searching for answers, but existing videos are outdated or poorly made. When you spot a search query with high interest but low-quality search results, that is your cue to create a high-value video that fills the gap and ranks quickly. Related guides: YouTube Keyword Generator: How to Uncover High-Traffic Search Terms and YouTube Tags Generator: How to Find the Best Tags for YouTube SEO. You can also try the EKO24.NET Keyword Generator for a related creator workflow.

Read Article โ†’
YouTube Money Calculator: Estimate Your Earnings
Creator Tools

YouTube Money Calculator: Estimate Your Earnings

One of the most common questions new content creators ask is: 'How much money will I make for 100,000 views?' The short answer is that there is no single fixed number. Two channels with the exact same view count can earn wildly different incomes depending on several hidden variables. That is where a YouTube Money Calculator comes in handy. It uses industry benchmark metrics to give you a realistic estimate of your potential revenue. How Does a YouTube Money Calculator Work? A reliable earnings calculator doesn't just multiply your views by a random rate. Instead, it balances three main figures: - Daily View Count: The total average views your channel or video receives daily. - Estimated CPM (Cost Per Mille): What advertisers pay per 1,000 ad impressions in your specific niche. - Ad Engagement Rate: The percentage of viewers who actually watch or click the ads instead of skipping them. Why CPM Varies So Much Between Channels Your niche plays the biggest role in determining your earnings. Financial services, business software, and real estate channels often command CPMs of $15 to $30+ because advertisers are competing heavily for high-value audiences. On the flip side, gaming or general entertainment videos might see CPMs closer to $2 to $5. RPM: The Metric That Actually Matters While CPM reflects what advertisers pay, RPM (Revenue Per Mille) is what actually hits your bank account. RPM factors in YouTube's 45% revenue cut, non-monetized views, and alternate income streams like Super Chats or Channel Memberships. Using a money calculator gives you a clear baseline to project your channel's monthly income, helping you make smarter business choices as your audience grows. Related guides: How a Live Subscriber Counter Works (And Why Creators Use It) and YouTube Watch Time Calculator: How to Track and Hit 4,000 Hours Faster.

Read Article โ†’
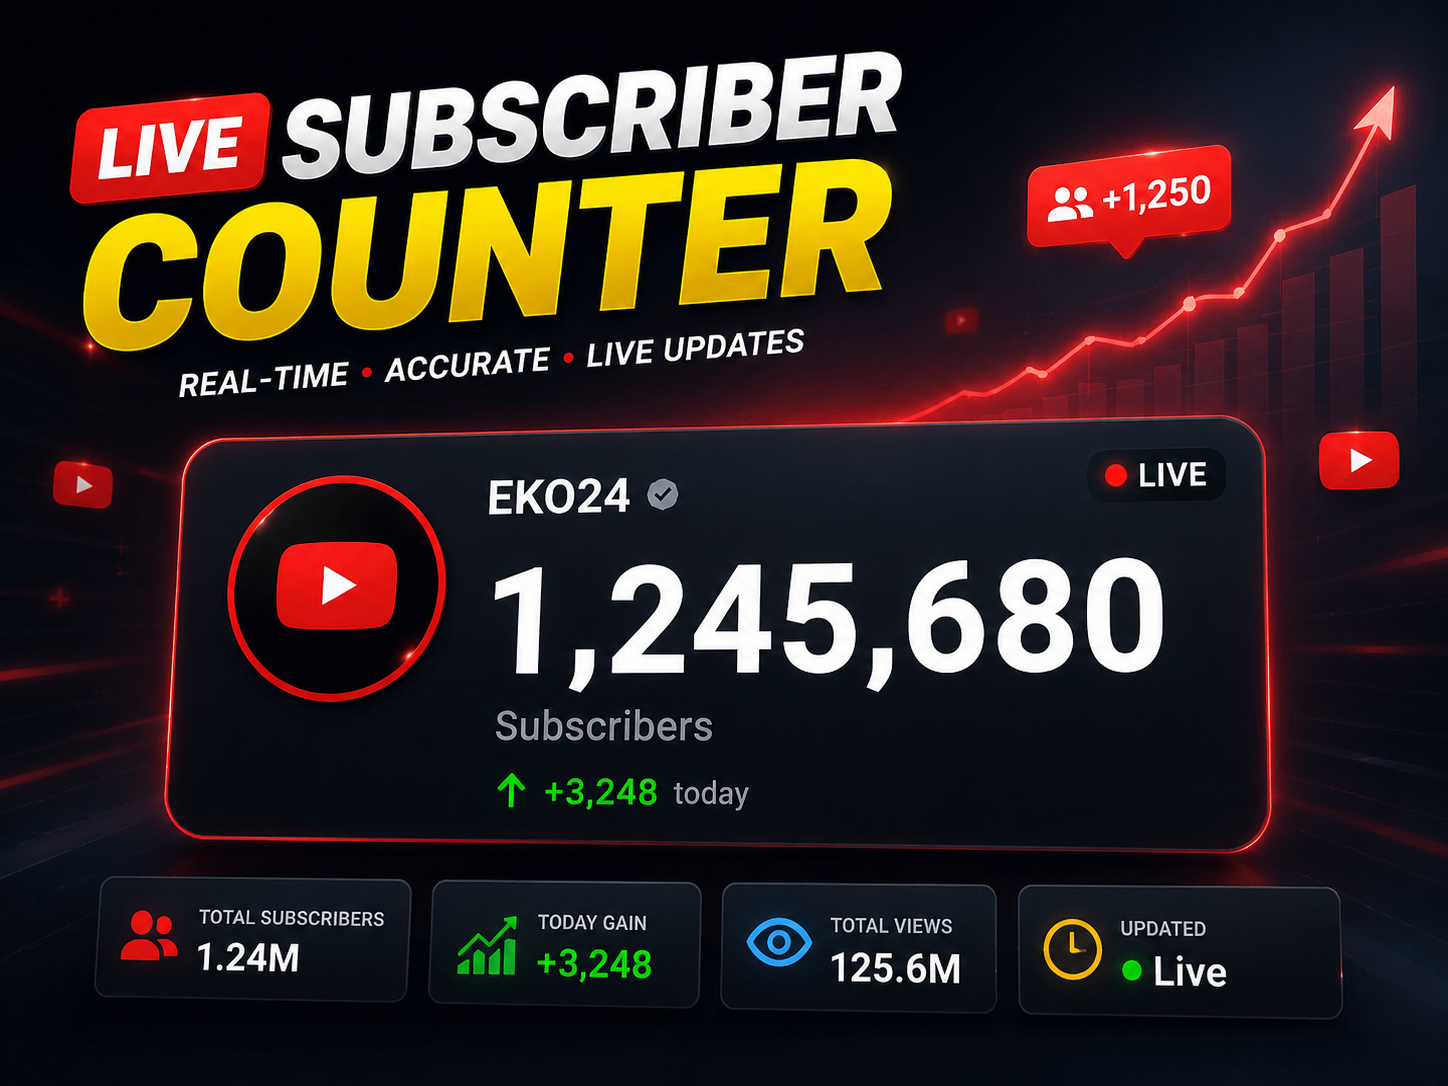
How a Live Subscriber Counter Works (And Why Creators Use It)
Creator Tools

How a Live Subscriber Counter Works (And Why Creators Use It)

There is nothing quite like the rush of watching your subscriber count climb toward a major milestone. Whether you are approaching your first 1,000 subscribers or hitting the 100K mark, seeing every single new follower join in real time adds an extra layer of excitement to YouTube content creation. Since YouTube updated its public subscriber counts to rounded numbers, dedicated Live Subscriber Counter tools have become essential for creators who want exact, second-by-second updates. Why Live Subscriber Counters Are Popular for Live Streams If you host live streams on YouTube, adding a live sub counter directly onto your screen can instantly boost viewer interaction: - Gamifying Channel Growth: Viewers love seeing their actions immediately impact the screen. Giving a live shoutout as the counter ticks up encourages others to subscribe. - Milestone Countdown Streams: Hosting a dedicated stream to hit numbers like 10,000 or 50,000 subscribers creates a shared sense of community achievement. - Instant Feedback: You can measure viewer response during specific moments of your stream or during live calls to action. How These Tools Fetch Real-Time Data Live counters utilize the official YouTube Data API v3 to fetch channel stats frequently. While YouTube enforces rate limits to protect server performance, third-party counters optimize update cycles to display near-instant updates whenever someone hits that subscribe button. Integrating a live sub counter into your streaming software like OBS Studio or Streamlabs gives your audience a fun, interactive element to watch during your broadcasts. Related guides: How a YouTube Money Calculator Works (And How to Estimate Your Payout) and Boost Your Growth: Best YouTube Channel Analyzer Tools.

Read Article โ†’
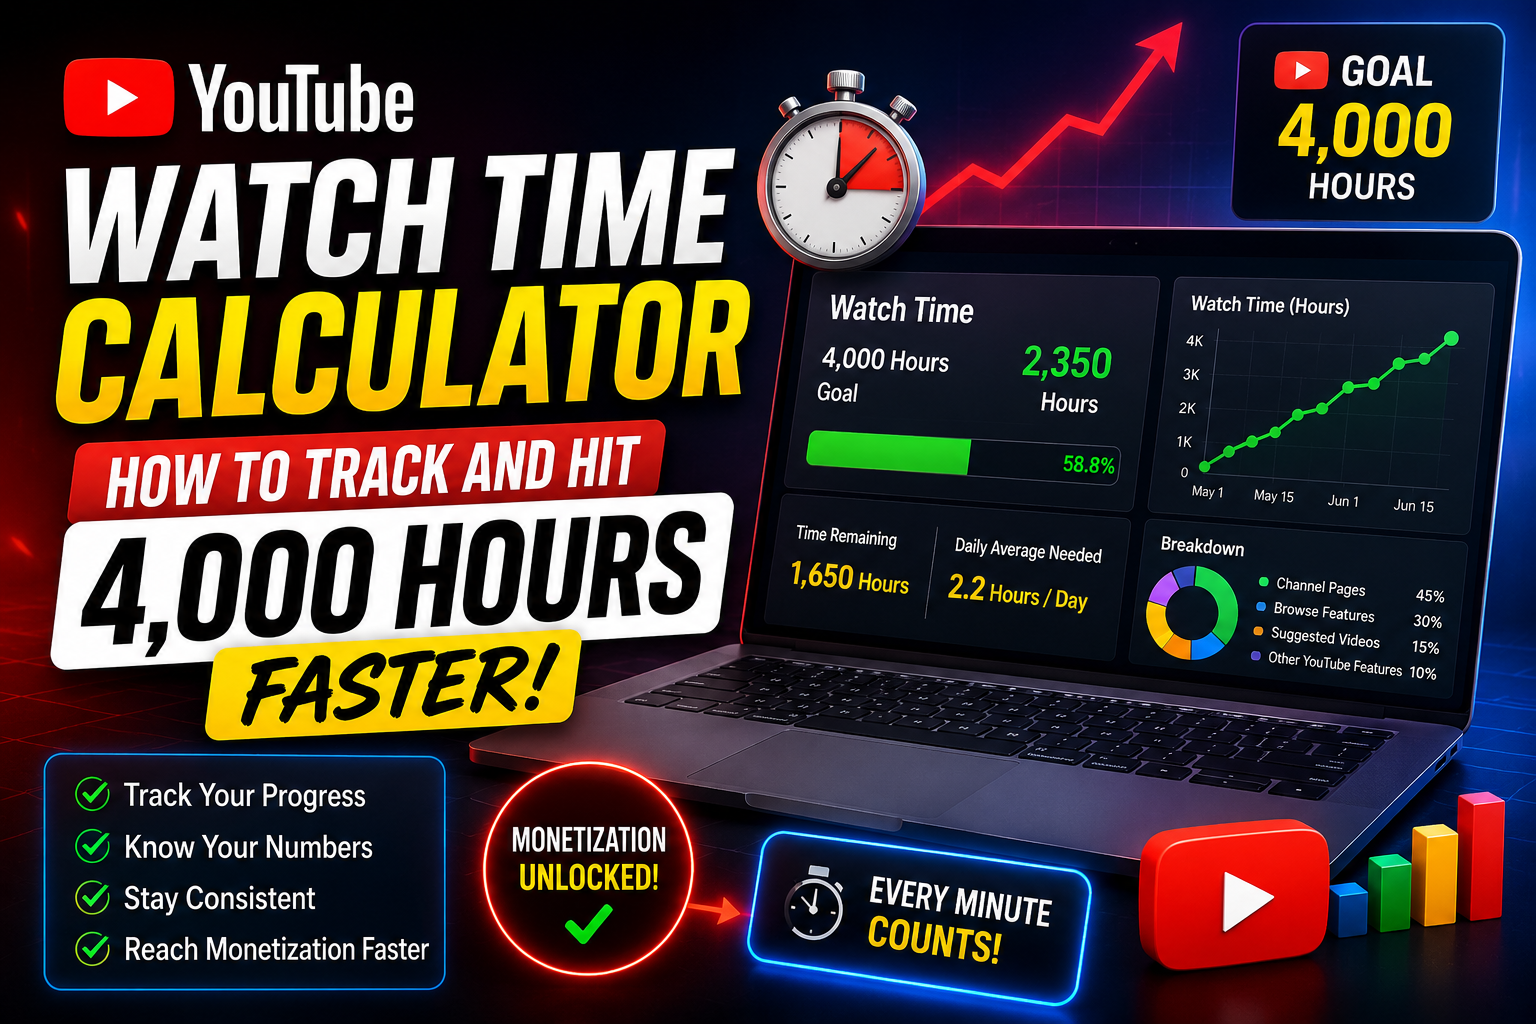
YouTube Watch Time Calculator: Reach 4,000 Hours Faster
Creator Tools

YouTube Watch Time Calculator: Reach 4,000 Hours Faster

For every emerging creator, hitting 4,000 valid public watch hours within a 12-month window is one of the biggest milestones on YouTube. It is the core threshold required to unlock the YouTube Partner Program (YPP) and start earning ad revenue. However, YouTube Studio displays your watch time in minutes across various reports, leaving many creators guessing how close they actually are to their goal. That is where a dedicated YouTube Watch Time Calculator becomes indispensable. How a Watch Time Calculator Simplifies Your Goals Instead of manually converting minutes or calculating average retention per video, a watch time calculator breaks down your metrics into clear, actionable targets: - Minutes-to-Hours Conversion: Automatically converts 240,000 watch minutes into the required 4,000 hours instantly. - Monetization Forecasting: Helps you estimate how many days or weeks you need based on your current daily watch time average. - Video Target Estimator: Calculates the exact number of full-length videos or views you need based on your average view duration (AVD). 3 Strategies to Maximize Watch Time Retention 1. Master the First 30 Seconds: The YouTube algorithm penalizes videos with high initial drop-offs. Hook your viewers immediately by cutting long intros and getting straight to the value. 2. Leverage Strategic Playlists: Playlists trigger auto-play behavior, keeping viewers on your channel longer and compounding your total watch hours exponentially. 3. Analyze Retention Dip Points: Use YouTube Analytics to see where viewers drop off in your previous videos, then edit out those boring moments in future content. By regularly using a watch time calculator to set realistic benchmarks, you can turn a daunting 4,000-hour goal into manageable weekly targets. Related guides: How a YouTube Money Calculator Works (And How to Estimate Your Payout) and Boost Your Growth: Best YouTube Channel Analyzer Tools. You can also try the EKO24.NET Watch Time Calculator for a related creator workflow.

Read Article โ†’
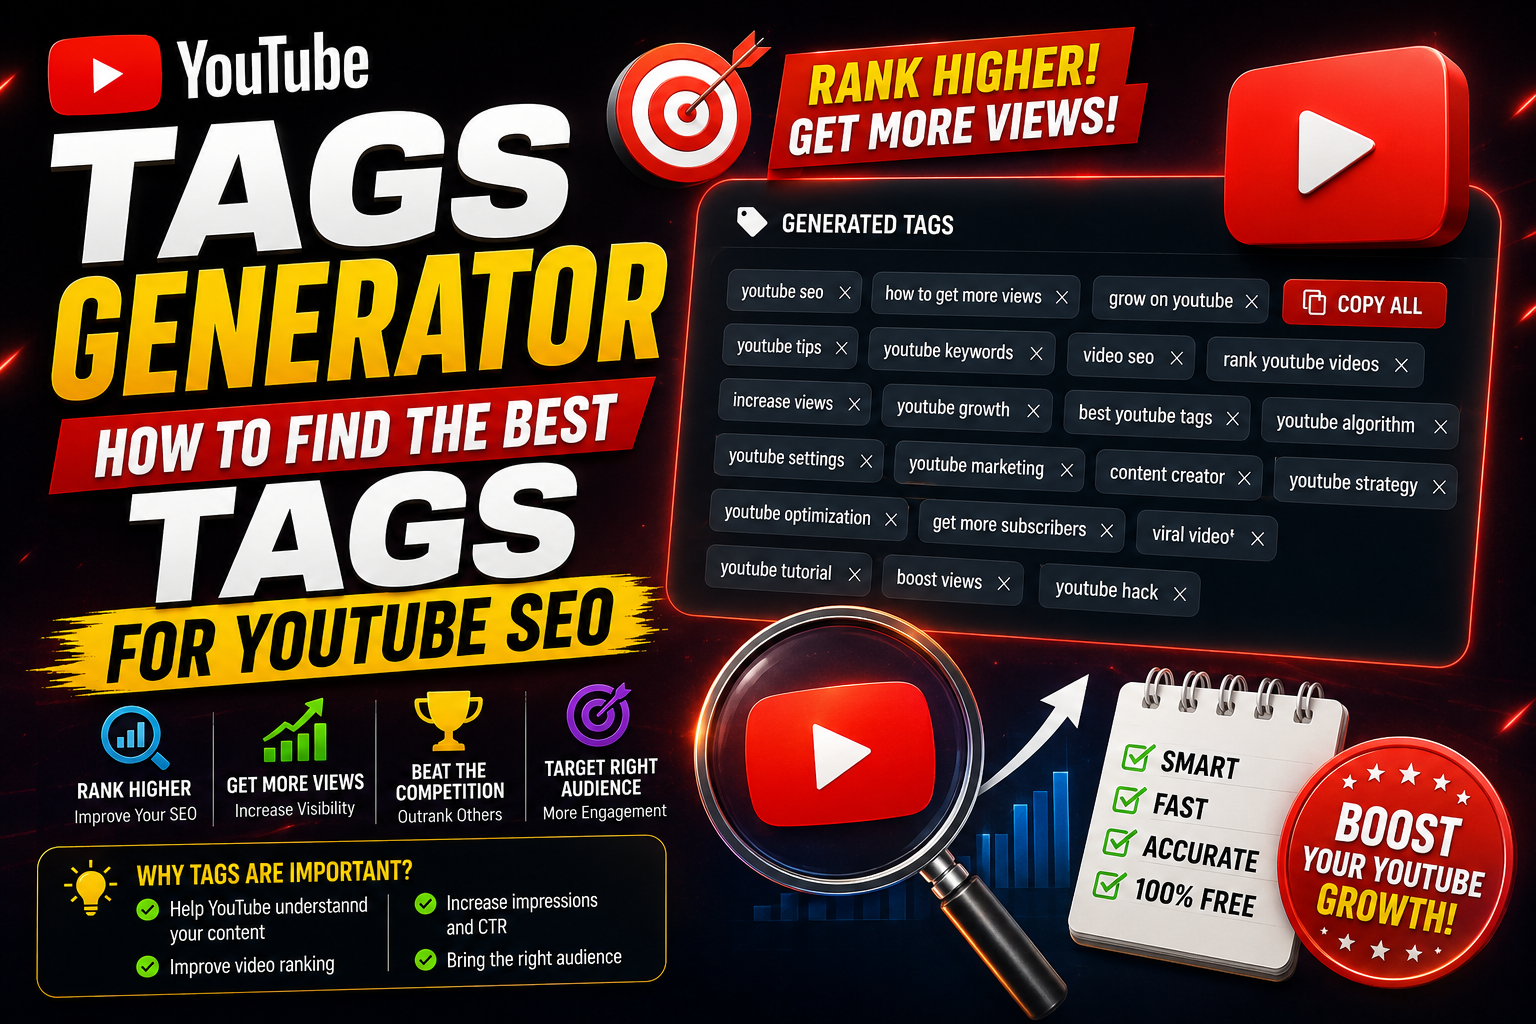
YouTube Tags Generator: How to Find the Best Tags for YouTube SEO
Creator Tools

YouTube Tags Generator: How to Find the Best Tags for YouTube SEO

Finding the right keywords and tags for your YouTube videos can be a tedious process. While video titles and thumbnails play the largest role in attracting clicks, video tags remain a fundamental part of helping YouTube's search algorithm understand your topic, context, and niche. A dedicated YouTube Tags Generator automates this process by instantly extracting high-performing, relevant tags based on real search query data. Why Use a YouTube Tags Generator? - Uncover Low-Competition Keywords: Spot hidden search terms and long-tail tags that your competitors might have overlooked. - Save Time on Metadata Creation: Instead of typing dozens of tags manually, generate a complete, optimized list in seconds. - Fix Misspellings & Variations: YouTube specifically uses tags to catch common typos or alternative names associated with your content topic. Best Practices for Adding Tags to Your Videos: 1. Put Your Primary Keyword First: Always place your main target phrase as the very first tag in your list. 2. Mix Broad and Specific Tags: Combine broad category tags (e.g., 'Video Editing') with hyper-specific phrases (e.g., 'Premiere Pro Speed Ramp Tutorial'). 3. Don't Overstuff Tags: Stick strictly to relevant keywords that accurately describe your content. Irrelevant tag stuffing can confuse the algorithm and lower your rankings. Related guides: Mastering YouTube Video Search: How to Find Hidden Content and Niche Ideas and YouTube Description Generator: Craft High-Ranking Descriptions in Seconds. You can also try the EKO24.NET Keyword Generator for a related creator workflow.

Read Article โ†’
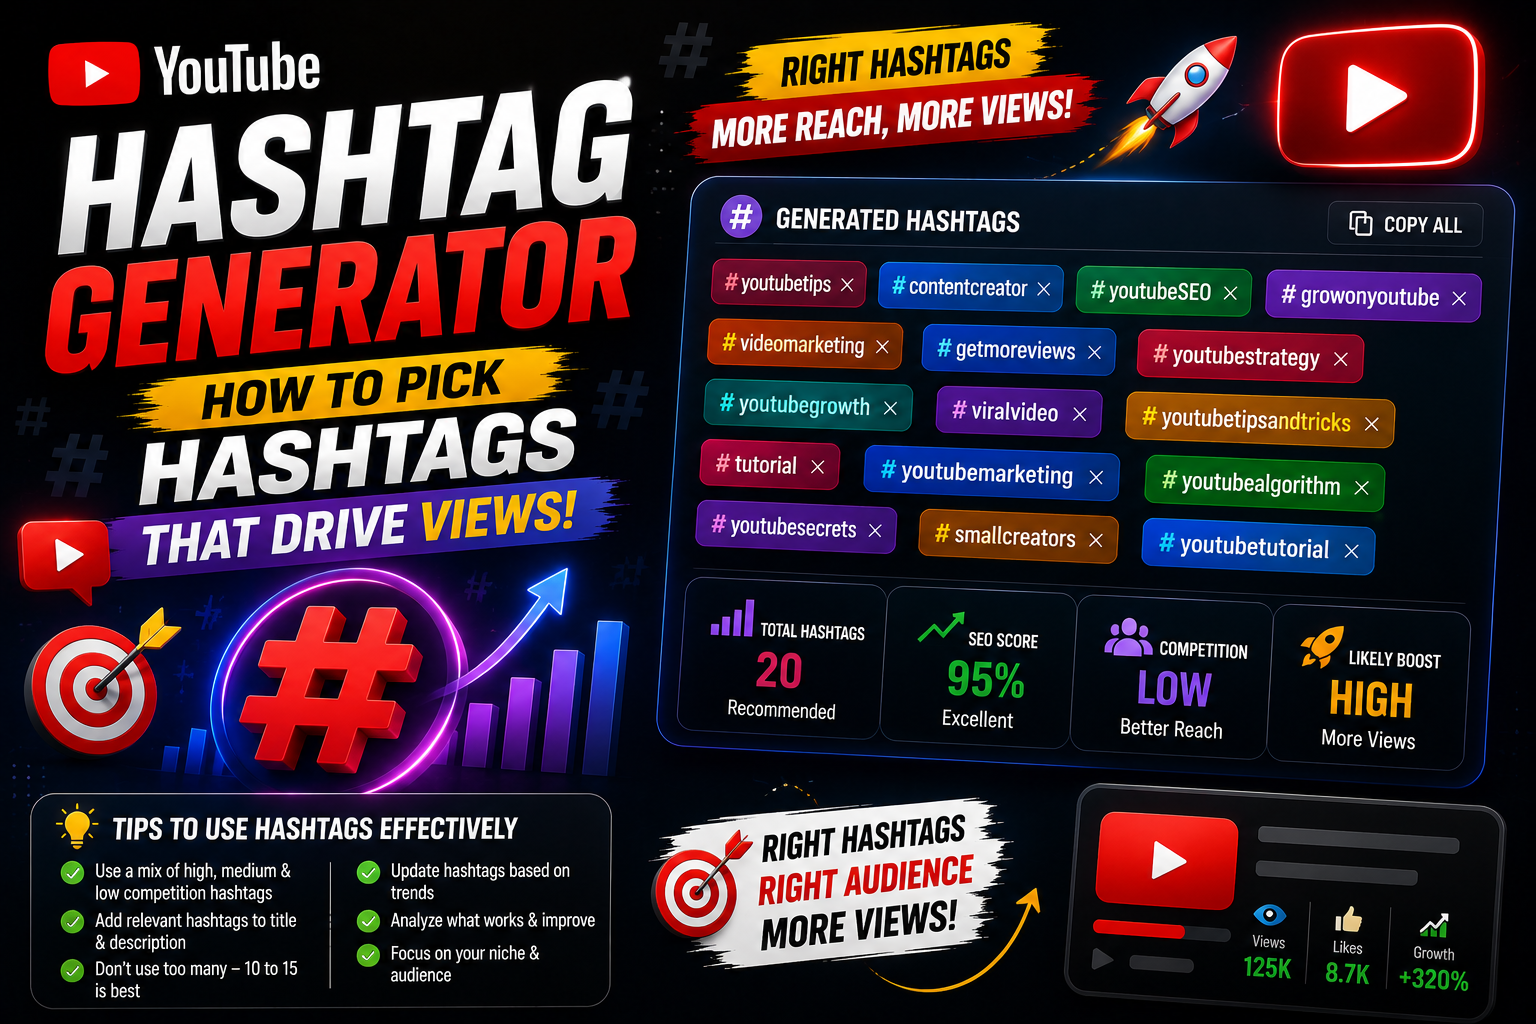
YouTube Hashtag Generator: How to Pick Hashtags That Drive Views
Creator Tools

YouTube Hashtag Generator: How to Pick Hashtags That Drive Views

Hashtags on YouTube are more than just decorative symbols. When used correctly, they function as clickable search links that connect your content with users exploring specific topics or trending discussions across the platform. A dedicated YouTube Hashtag Generator analyzes current video trends and search queries to recommend the most effective hashtags for your specific upload. Why Should You Use a Hashtag Generator? - Discover Trending Topics: Easily spot which hashtags are gaining momentum in your niche before your competitors do. - Category Alignment: Helps YouTube's recommendation engine group your video alongside similar high-performing content. - Improved Mobile Search Visibility: Mobile viewers frequently tap on top hashtags displayed above video titles to find related content nGolden Rules for Using YouTube Hashtags: 1. Quality Over Quantity: Stick to 3 to 5 highly relevant hashtags. YouTube ignores all hashtags on a video if you add more than 15. 2. Add Them to Your Description: Place your primary hashtags near the end of your video description or directly in the first two lines. 3. Avoid Misleading Tags: Never use popular creator names or unrelated viral hashtags just for clicksโ€”YouTube may flag your video for misleading metadata. Related guides: YouTube Title Generator: How to Create High-CTR Titles That Rank and YouTube Description Generator: Craft High-Ranking Descriptions in Seconds. You can also try the EKO24.NET Tags Generator for a related creator workflow.

Read Article โ†’
YouTube Description Generator for clear video descriptions
Creator Tools

YouTube Description Generator: Write Better Video Descriptions

YouTube Description Generator Writing a useful YouTube description for every upload can take time. A description generator gives you a starting structure so you can explain the video clearly, add relevant keywords naturally, and include the links or calls to action your viewers need. The goal is not to fill the description with keywords. A good description should first help viewers understand what the video contains. What Should a Good YouTube Description Include? ๐ŸŽฏ Clear Opening Use the first lines to explain what viewers will learn or see. Include the main topic naturally instead of repeating the same keyword. ๐Ÿ•’ Chapters For longer videos, timestamps can make the description easier to use and help viewers jump to important sections. ๐Ÿ”— Useful Links Add relevant resources, product pages or social links in a clean section instead of mixing them into the main explanation. How a Description Generator Helps A generator can save time when you already know the subject of your video but do not know how to organize the description. Start with the generated draft, then edit it so it matches what actually happens in your video. Remove generic phrases, check every link, and add details that only you know. This simple editing step makes the final description more useful and less repetitive. YouTube Description and SEO Descriptions give YouTube additional information about a video's subject, but they are only one part of video discovery. Your title, thumbnail, actual video content and viewer response also matter. Use your main phrase where it makes sense, add related terms naturally, and avoid keyword stuffing. A readable description written for people is more useful than a block of repeated search terms. A Simple Description Structure Opening: explain the main benefit or subject of the video. Details: add a short summary of what the viewer will find. Chapters: include timestamps when they genuinely help navigation. Links: add relevant resources and clearly disclose promotional or affiliate links when applicable. Call to action: finish with a simple next step when appropriate. Before You Publish Read the description once as a viewer. Make sure it accurately represents the video, remove unnecessary repetition, test important links, and correct any generated text that does not match your content. Final Thoughts A YouTube Description Generator is best used as a writing assistant rather than an automatic SEO shortcut. It can create the first draft quickly, while your own editing makes the description accurate, useful and specific to the video. Related guides: YouTube Keyword Generator and YouTube Title Generator. You can also try the EKO24.NET Description Generator to create a draft for your next video.

Read Article โ†’
YouTube Keyword Generator: Find High-Traffic Search Terms
Creator Tools

YouTube Keyword Generator: Find High-Traffic Search Terms

Creating great videos is only half the battle on YouTube. If nobody is searching for the topic you covered, even the highest quality video will struggle to gain organic traction. That is why keyword research is the backbone of any successful YouTube strategy. A dedicated YouTube Keyword Generator pulls real autocomplete data and search query volume straight from YouTube to reveal what viewers are actively typing into the search bar. How Does a YouTube Keyword Generator Help Creators? - Identify High-Demand Topics: Uncover trending questions and search phrases before a niche gets overcrowded. - Target Long-Tail Keywords: Discover specific 3-to-5 word search phrases (e.g., 'best budget video editing laptop') that are easier for smaller channels to rank for. - Understand Search Intent: See the exact phrasing viewers use, helping you craft titles and thumbnails that directly match what users want to see. How to Apply Generated Keywords to Your Uploads: 1. Focus on One Primary Keyword: Choose one main keyword phrase for your video title and make sure it appears naturally near the beginning. 2. Spread Keywords Naturally in Descriptions: Write a 200-word summary using your secondary keywords without forcing or repeating them unnaturally. 3. Include Search Variations in Tags: Add synonyms and related phrases into your video tags to help YouTube understand broad contextual connections. Related guides: YouTube Description Generator: Craft High-Ranking Descriptions in Seconds and YouTube Title Generator: How to Create High-CTR Titles That Rank. You can also try the EKO24.NET Keyword Generator for a related creator workflow.

Read Article โ†’
YouTube Trending Videos: Find Viral Content and Trends
Creator Tools

YouTube Trending Videos: Find Viral Content and Trends

Jumping on viral topics early is one of the fastest ways to kickstart audience growth on YouTube. When a topic trends, search volume explodes overnight, giving creators an unprecedented opportunity to gain thousands of views in a short period. However, simply copying what is on the Trending page isn't enough. Understanding how the YouTube algorithm selects trending videos allows you to spot breakout topics before they become completely saturated. What Makes a Video Trend on YouTube? The YouTube Trending tab isn't based solely on overall view count. The algorithm considers a mixture of metrics designed to catch rising popularity in real-time: - View Velocity: How rapidly a video is gaining views right after publication. - Cross-Platform Buzz: High volume of external traffic coming from social media platforms or news sites. - Audience Engagement Rate: High ratio of likes, comments, and shares relative to the video's total view count. How to Capitalize on Trending Topics Without Copying: 1. Add Your Unique Perspective: Never re-upload or paraphrase existing videos. Add distinct commentary, original testing, or an expert reaction to offer genuine value. 2. Target the Niche Angle: Instead of covering a massive trend broadly, narrow down your focus to a specific sub-topic that bigger creators missed. 3. Act Fast on Breakout Topics: Speed is critical when capitalizing on trends. Publishing a focused, helpful video within 24 to 48 hours maximizes your chances of ranking. Related guides: Mastering YouTube Video Search: How to Find Hidden Content and Niche Ideas and Boost Your Growth: Best YouTube Channel Analyzer Tools. You can also try the EKO24.NET Search Videos for a related creator workflow.

Read Article โ†’
YouTube Title Generator: How to Create High-CTR Titles That Rank
Creator Tools

YouTube Title Generator: How to Create High-CTR Titles That Rank

Your video title is the very first impression you make on a potential viewer. Even if you spend days editing the perfect video, a bland or confusing title will cause people to scroll right past it. Title optimization is one of the most effective ways to boost your Click-Through Rate (CTR). A YouTube Title Generator helps you brainstorm magnetic headline ideas, combining search-friendly keywords with emotional triggers that compel users to click. What Makes a YouTube Title Click-Worthy? Creating a great title is a delicate balance between pleasing the YouTube search algorithm and exciting human viewers: - Primary Keyword Placement: Put your main search term near the start of the title so users and search crawlers instantly grasp the topic. - Curiosity & Emotion: Use psychological triggers like curiosity gaps, urgency, or clear outcome promises (e.g., 'How I...', 'The Truth About...', 'Stop Doing This'). - Optimal Character Count: Keep your titles between 50 to 70 characters so they don't get cut off on mobile screens. How to Test and Refine Your Generated Titles: 1. Pair Title with Thumbnail: Ensure your title complements your thumbnail image rather than simply repeating the exact same text. 2. Avoid Clickbait Traps: Deliver on the promise made in your title within the first minute of the video to maintain viewer retention. 3. Track CTR Metrics: Check YouTube Studio after publishing to see how your new title format impacts your overall click-through percentage. Related guides: YouTube Description Generator: Craft High-Ranking Descriptions in Seconds and YouTube Hashtag Generator: How to Pick Hashtags That Drive Views. You can also try the EKO24.NET Thumbnail Maker for a related creator workflow.

Read Article โ†’
7 Essential YouTube Creator Tools to Grow Your Channel
Creator Tools

7 Essential YouTube Creator Tools to Grow Your Channel

Growing a YouTube channel in today's competitive landscape requires more than just luckโ€”it takes smart strategy, precise data, and the right workflow tools. Whether you are searching for your next viral video idea or trying to optimize your titles for search engines, having a dedicated YouTube Creator Toolkit streamlines your content creation process. Here is a complete breakdown of 7 essential tools every YouTube creator needs to research, optimize, and scale their channel. ### 1. YouTube Video Search & Topic Finder Finding unique video ideas starts with smart search techniques. Instead of relying on YouTube's standard search feed, smart creators use filters, exact quotes, and keyword exclusions to find overlooked content gaps and unserved audience questions. ### 2. YouTube Money Calculator Understanding your revenue potential is essential for turning your channel into a business. An earnings calculator estimates payout ranges based on daily views, CPM rates, and viewer demographicsโ€”helping you differentiate between simple view counts and actual ad revenue. ### 3. Live Subscriber Counter Real-time stats create instant viewer engagement during milestone broadcasts and live streams. A live subscriber counter fetches second-by-second updates via YouTube's API, allowing you to gamify channel growth and celebrate goals live with your audience. ### 4. YouTube Keyword Generator Ranking on YouTube's search results depends heavily on target search terms. A keyword generator reveals low-competition, long-tail search phrases that help smaller channels capture organic search traffic fast. ### 5. YouTube Hashtag Generator Hashtags organize your uploads under clickable topics across mobile and desktop search. Using a hashtag generator ensures you pick 3 to 5 highly relevant, trending tags that strengthen contextual categorization without cluttering your description. ### 6. Trending Videos Finder Jumping on viral topics early gives you a massive spike in view velocity. A trending video finder tracks rising view speed and social media buzz so you can publish timely reactions, commentary, or tutorials before the trend becomes oversaturated. ### 7. YouTube Title Generator Your title directly impacts your Click-Through Rate (CTR). A title generator crafts magnetic, curiosity-driven titles that combine top keywords with high-converting emotional hooks designed to catch the viewer's eye. Related guides: Boost Your Growth: Best YouTube Channel Analyzer Tools and How a Live Subscriber Counter Works (And Why Creators Use It).

Read Article โ†’